


Stepping up from a simple disposable or pod device to a full-fledged vape mod can be exciting, but also a bit intimidating. With their powerful batteries, customizable settings, and sometimes complex-looking interfaces, vape mods offer a world of control over your vaping experience. But with great power comes great responsibility.
This guide will walk you through the essentials of how to use a vape mod, from unboxing to your first perfect puff.
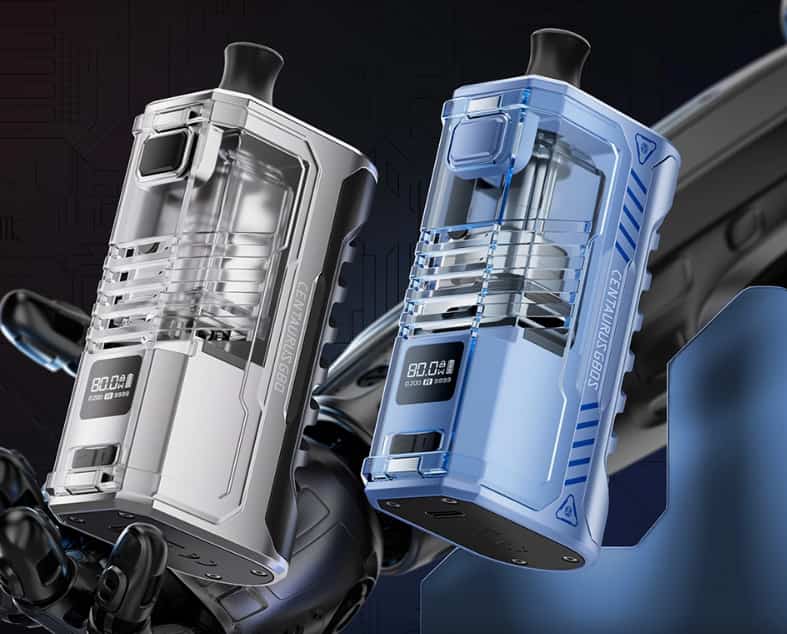
Understanding the Key Components
Before you press any buttons, it’s crucial to know what you’re holding. A typical vape mod consists of:
-
The Mod/Battery Device: This is the main body that houses the batteries, chipset, and controls.
-
The Tank: This screws onto the top of the mod and holds your e-liquid.
-
The Coil: A removable component inside the tank that heats the e-liquid to create vapor. This is the primary consumable part.
-
The Drip Tip: The mouthpiece you puff on.
-
The Battery(ies): Most mods use external 18650, 20700, or 21700 batteries. Always use batteries from a reputable brand and ensure the wraps are undamaged.
Step 1: Setting Up Your Mod for the First Time
A. Battery Safety & Installation:
-
If your mod uses external batteries, carefully insert them into the device according to the polarity symbols (+ and -) marked inside the battery compartment.
-
Crucial Safety Tip: Always charge your batteries using an external charger. While many mods offer USB charging, an external charger is safer, more efficient, and prolongs battery life.
B. Priming Your Coil (The Most Important Step!):
Skipping this step will result in a burnt coil, ruining it instantly.
-
Take your new coil out of its packaging.
-
Apply a few drops of e-liquid directly onto the cotton wicking ports you can see on the side of the coil. Also, put a drop or two down the center.
-
Fill your tank with e-liquid and screw it onto the mod.
-
Let it sit for at least 5-10 minutes. This allows the cotton to become fully saturated with e-liquid.
Step 2: Understanding the Basic Settings
Vape mods primarily operate in two modes:
A. Wattage (Power) Mode:
This is the most common and straightforward mode, perfect for beginners.
-
What it does: You directly control the power (in watts) sent to the coil.
-
How to use it: Start low! Check the recommended wattage range printed on the side of your coil. Begin at the lowest number and take a short puff. Gradually increase the wattage by 5 watts until you find your preferred balance of flavor and vapor production. Staying within the recommended range prevents burning out your coil.
B. Temperature Control (TC) Mode:
This is an advanced mode for specific coil types like Nickel (Ni200), Titanium (Ti), or Stainless Steel (SS).
-
What it does: You set a maximum temperature to prevent dry hits and provide a consistent experience.
-
Beginner Tip: Stick with Wattage Mode until you are more familiar with your device and different coil materials.
Step 3: The Firing Basics
Most mods have one of two firing mechanisms:
-
Fire Button: A single, large button you press to activate the device. Typically, pressing it 5 times quickly turns the mod on or off.
-
Touch Screen: Some modern mods have a touch screen where you tap an icon to fire.
How to Inhale:
-
Direct-to-Lung (DTL): This is the most common style with mods. You inhale the vapor directly into your lungs, similar to taking a deep breath. It produces large clouds and works best with lower nicotine strengths (e.g., 3mg or 6mg).
-
Mouth-to-Lung (MTL): You first draw the vapor into your mouth, then inhale it into your lungs. This is similar to smoking a cigarette and typically uses higher nicotine strengths and higher-resistance coils.
Step 4: Routine Maintenance for Longevity
A little maintenance goes a long way in ensuring great flavor and device lifespan.
-
Refilling: Unscrew the top or bottom of your tank (depending on the design) to refill with e-liquid. Avoid getting e-liquid in the center chimney.
-
Changing Coils: When you start to get a burnt taste or notice a significant drop in vapor production, it’s time to change the coil. Simply unscrew the old one, prime a new one as described above, and screw it in.
-
Cleaning the Tank: When changing coils, it’s a good practice to disassemble the tank and rinse the components (except the coil!) with warm water. Let them dry completely before reassembling.
Essential Safety Checklist
-
Battery Care is Non-Negotiable: Use a proper case for spare batteries, never carry them loose in your pocket. Inspect battery wraps for tears regularly.
-
Use the Right Charger: An external battery charger is the safest option.
-
Start Low, Go Slow: Always begin at a lower wattage than you think you need.
-
Prime Every Single New Coil: We can’t stress this enough.
-
Keep It Clean: E-liquid residue can cause connectivity issues over time.
Conclusion: Embrace the Control
While a vape mod has a steeper learning curve than a disposable, the reward is a fully personalized vaping experience. You have the power to fine-tune everything from flavor intensity to cloud density. By starting slowly, prioritizing safety, and following these steps, you’ll be confidently using your vape mod in no time, unlocking a richer and more satisfying vape.