





Facebook Twitter Instagram
    Trending
    • OnePlus Ace 6 Ultra Review: A 165FPS Gaming Beast Built for FPS Players
    • Xiaomi 18 is launched! Hyper OS 4 is here: Completely Removes MIUI Code and undergoes a Complete Transformation at the Core Level
    • Blackview WAVE 7C AI Smartphone Review: A Powerful, Affordable 4G Smartphone for Everyday Use
    • How Charge Capture Software Improves Accuracy and Efficiency in Healthcare
    • Which is better, a laptop or a desktop computer? Computer purchase guide
    • Top Benefits of Using the SVBONY SVN O1 in Office and Classroom Settings
    • YLRC C6 Mini RC Drift Car Review: A Thrilling Toy for Kids and RC Enthusiasts
    • DTG9 Smartwatch Review: A Comprehensive Smart Companion for Fitness and Everyday Use
    Facebook YouTube
    IGeeKphone China Phone, Tablet PC, VR, RC Drone News, Reviews
    • HOME
      • NEWS
        • DeepSeek
        • ChatGPT
        • Minecraft
    • Amazon
    • PHONE
      • Top Phones For Your First Choice
      • Phone Comparison
      • Xiaomi
      • Blackview
      • Doogee
      • Black Shark
      • Geekbuying
      • Banggood
      • TEMU
      • TikTok
      • Aliexpress
      • Walmart
      • MercadoLibre
      • Lazada
    • TOP VAPE Awards for 2026
    • VAPES
      • E-CIGAR Upcoming
      • Vape News
      • Vape Deals
      • Vape Comparison
      • Vape Guide
      • Giveaway
    • BEST VAPE
      • Best Vape Stores
      • Best Starter Vape Kits
      • Best Vapes for Beginners
      • Best Disposable Vapes
      • Best Pod Systems
      • Best Pod Mod Vapes
      • Best Mods
      • Best Nicotine Pouches
      • Best Clearomizers/Tanks
      • Best E-Liquid
      • Best EGO/Pens
      • Best Vapes for Nic Salt E-Juice
      • Best Vapes to Quit Smoking
      • RDA vs. RDTA vs. RTA
    • Best Vape Brand 2026
      • VAPORESSO
      • VOOPOO
      • OXVA
      • NEXA BAR
      • ORIONBARTECH
      • MASKKING VAPE
      • MEMERS
      • SP2S
      • TODOO
      • MRFOG
      • VEIIK
    • REVIEW
      • E-cigar Review
      • Phones
      • Tablet PC
      • TV Box
      • RC Drone
      • Wearables
      • Camera
      • Accessories
      • VR Headset
    • MORE
      • TABLET
        • Chuwi
        • INNOCN
        • Teclast
        • Top Tablet for Your First Choice
        • Tablet/Laptop Comparison
      • RC DRONE
      • CAMERA
      • WEARABLES
        • OneOdio
        • BlitzWolf
        • Top Smartwatch for First Choice
      • 3D PRINTER
        • 3D Printer Review
        • Anycubic
        • FLSUN
        • Xtool
        • LONGER
        • Top 3D printer to Choose First
      • POWER STATION
        • Oukitel
        • FOSSIBOT
      • GAMING
        • Top Gaming Products
      • E-BIKE
        • Samebike
        • Happyrun
        • ENGWE
      • SMART HOME
      • TV BOX
      • ACCESSORIES
      • VR HEADSET
      • CLOTHES
      • AUTO CAR
    • DEAL
    • VAPE LAWS
    • Shop
    IGeeKphone China Phone, Tablet PC, VR, RC Drone News, Reviews
    You are at:Home»Guide»How to Partition a Portable Hard Drive: A Step-by-Step Guide
    Guide

    How to Partition a Portable Hard Drive: A Step-by-Step Guide

    Brady CottonBy Brady CottonApril 13, 2026
    Facebook Twitter Pinterest LinkedIn Tumblr Email

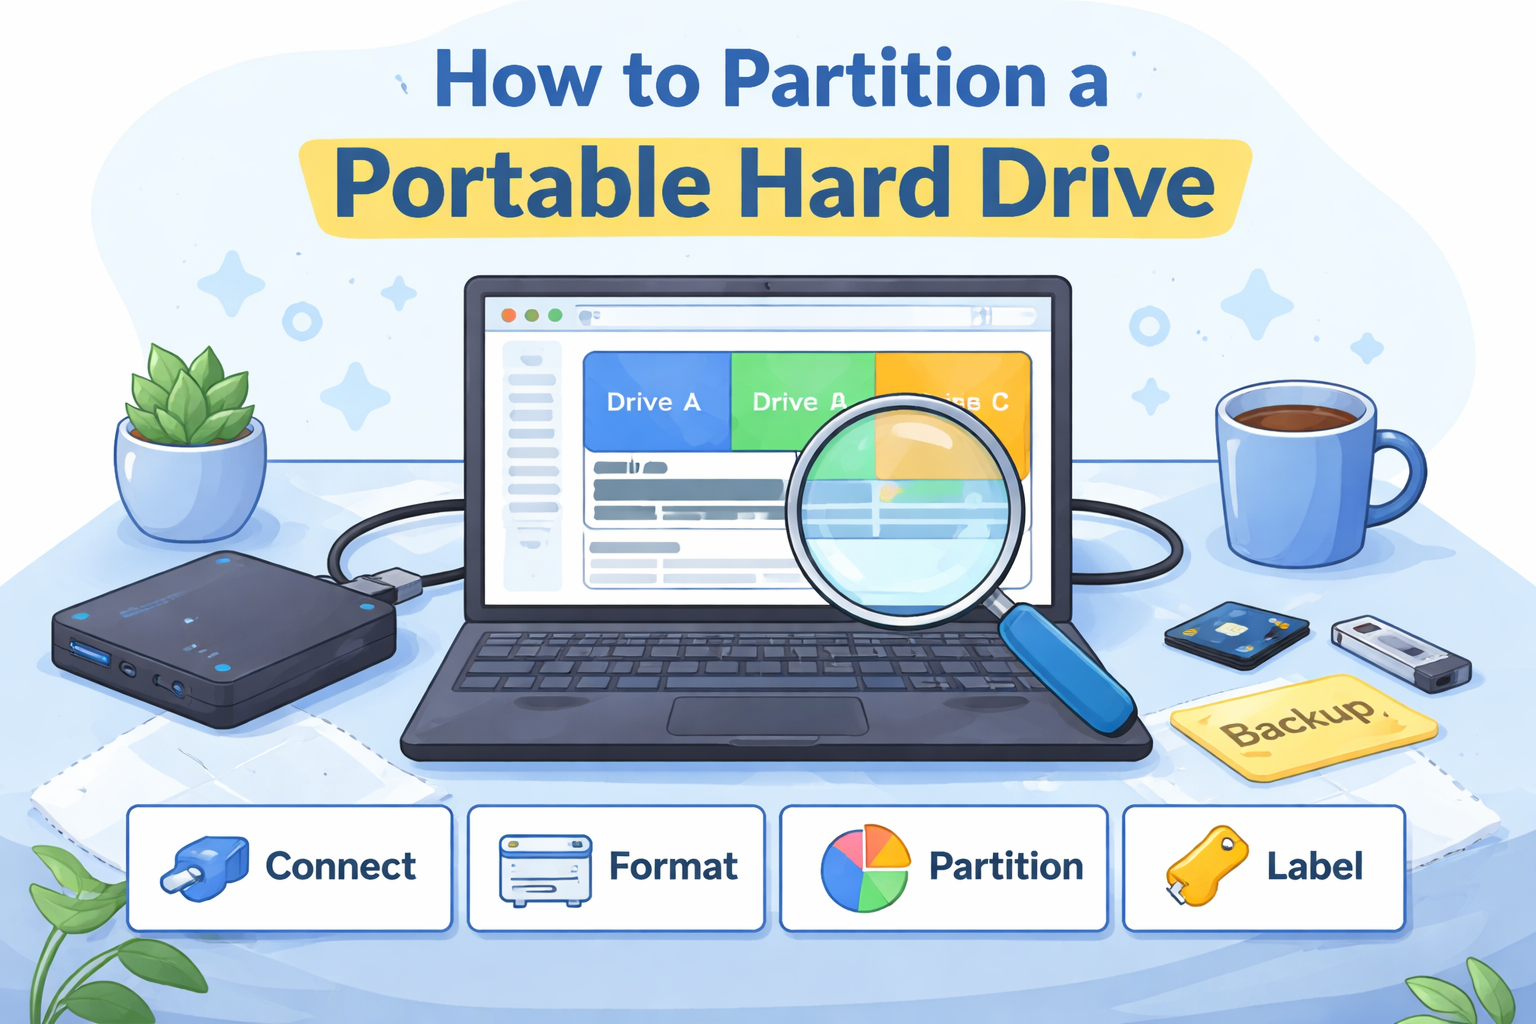
    Partitioning a portable hard drive is a useful way to organize your files, create multiple storage spaces, or prepare it for use across different operating systems. Whether you want to keep your media files separate from backups, or create a partition specifically for a particular file system (e.g., for Mac and Windows compatibility), partitioning allows you to effectively manage your storage. In this guide, we will walk you through how to partition a portable hard drive on both Windows and Mac systems.

    Why Partition a Portable Hard Drive?

    Partitioning creates separate sections within your hard drive, each with its own file system and storage space. There are several reasons why you might want to partition your portable hard drive:

    • Organize Files: Keep different types of data (e.g., documents, media, backups) on separate partitions for easier access.
    • Compatibility: You might need to create partitions with different file systems to make the drive compatible with different operating systems (e.g., FAT32 for Windows, HFS+ for Mac).
    • Security and Backup: Partitioning can isolate important data, minimizing the risk of corruption or accidental deletion. Additionally, a backup partition can be used to store duplicate files.
    • Performance: Having multiple partitions can help improve data access speed and reduce fragmentation, depending on how the drive is used.

    How to Partition a Portable Hard Drive on Windows

    Step 1: Connect Your Portable Hard Drive

    Plug your portable hard drive into your computer using a USB cable. Ensure that the device is recognized by Windows. Open File Explorer to confirm that the drive appears under This PC.

    Step 2: Open Disk Management

    • Press Windows + X and select Disk Management from the menu.
    • In Disk Management, you’ll see a list of all drives connected to your system, including your portable hard drive.

    Step 3: Select the Portable Hard Drive

    Locate your portable hard drive in the lower section of the Disk Management window. It may appear as Disk 1, Disk 2, etc., depending on how many drives are connected to your computer. Make sure you select the correct drive by checking its size and label.

    Step 4: Delete Existing Partitions (If Necessary)

    If your portable hard drive is already partitioned and you want to repartition it:

    • Right-click on the existing partition(s) of the hard drive and select Delete Volume.
    • Deleting the partition will erase all data on the drive, so ensure you’ve backed up your files before proceeding.

    Step 5: Create New Partitions

    • Right-click on the unallocated space of your portable hard drive and select New Simple Volume.
    • The New Simple Volume Wizard will pop up. Follow the on-screen instructions:
      • Specify the Volume Size: Enter the desired size for the new partition in megabytes (MB). You can also leave it at the default size to use the entire available space.
      • Assign a Drive Letter: Choose a letter to assign to the partition (e.g., D:, E:, etc.).
      • Format the Partition: Choose a file system for the partition. For most general purposes, NTFS is recommended for Windows. If you need compatibility with both Mac and Windows, you can use FAT32 (though note that FAT32 has file size limitations).
      • Complete the Wizard: Review your choices and click Finish to create the partition.

    Step 6: Repeat for Additional Partitions

    If you want to create additional partitions on your hard drive, repeat steps 5-6 for each partition you want to create. Each partition will appear as a separate drive letter in File Explorer.

    Step 7: Format the Drive (If Necessary)

    If your new partition isn’t formatted yet or if you want to reformat an existing one:

    • Right-click on the new partition in Disk Management and select Format.
    • Choose the file system, volume label, and other settings, then click OK to format the partition.

    How to Partition a Portable Hard Drive on Mac

    Step 1: Connect Your Portable Hard Drive

    Plug your portable hard drive into your Mac using the USB cable. Once connected, it should appear on the Desktop or in the Finder.

    Step 2: Open Disk Utility

    • Open Disk Utility by going to Applications > Utilities > Disk Utility or by searching for it using Spotlight (Command + Spacebar).
    • In Disk Utility, you’ll see a list of all connected drives on the left sidebar. Select your portable hard drive.

    Step 3: Erase the Drive (If Necessary)

    If you want to repartition your portable hard drive and it already has data, erase it first:

    • Select the drive and click on the Erase tab.
    • Choose a format (for compatibility, choose ExFAT if you need to use it on both Mac and Windows).
    • Click Erase to begin the process. This will remove all data from the drive, so make sure to back up your files first.

    Step 4: Partition the Drive

    • After erasing, select the Partition button from the top of the window.
    • A pie chart will appear showing the current partition structure. Click the + button to add a new partition.
    • Drag the slider or enter the size of the partition you want to create.
    • Choose a name, file format, and scheme for the partition. For cross-platform compatibility, you might want to select ExFAT or MS-DOS (FAT).
    • Once done, click Apply to partition the drive.

    Step 5: Create Additional Partitions

    To create more partitions, simply click the + button again, and adjust the partition sizes as needed. Each partition will be listed in the pie chart.

    Step 6: Format the Partitions

    You can format each partition as needed. Choose the file system format that best suits your needs. APFS is great for Mac, while ExFAT is perfect for drives used on both Mac and Windows.

    Step 7: Confirm the Changes

    After partitioning, click Apply to confirm the changes. Disk Utility will now partition your drive according to your specifications.

    Conclusion

    Partitioning a portable hard drive is a straightforward way to better organize your storage and ensure compatibility across different devices. Whether you’re using Windows or Mac, the process involves selecting your drive, creating new partitions, and formatting them with the appropriate file system.

    Always remember to back up your data before partitioning or erasing your drive, as these processes can lead to data loss. With multiple partitions, you can create a more efficient and organized storage system, whether for personal use, backups, or managing multiple file types across different operating systems.

    Share. Facebook Twitter Pinterest LinkedIn Tumblr Email

    Related Posts

    How Charge Capture Software Improves Accuracy and Efficiency in Healthcare

    Which is better, a laptop or a desktop computer? Computer purchase guide

    How Smart Tech Is Changing the Way Roofers Work on Your Home

    Leave A Reply Cancel Reply

    You must be logged in to post a comment.

    voopoo drag 6
    oxva xlim 3 ultra
    sp2s sen x disposable vape
    • Popular
    • 3D Printer REVIEW
    • XIAOMI
    May 7, 2026

    OXVA Xlim Go Lite Review: Compact, Powerful, and Beginner-Friendly

    April 18, 2026

    VOOPOO DRAG 6 Hands on Review: Vape Beast with Smart Power & Premium Control

    April 8, 2026

    OXVA NeXLIM vs XLIM Pro 2 Pod Hands-On Review (2026)

    March 16, 2026

    OXVA Slimstick VS OXVA Slimstick X Vape Hands-on Review

    December 26, 2025

    ACMER ASCARVA 4S: Precision CNC Power for Makers, DIYers & Small Workshops

    June 23, 2024

    ACMER P2 20W Laser Engraver Fixed Focus Engraving: Hands on Review

    May 30, 2024

    xTool F1 Ultra Review: World’s First 20W Fiber & 20W Diode Laser Engraver

    May 30, 2024

    Anycubic Kobra 3 Combo Review: The Multicolor Masterpiece?

    May 9, 2026

    Xiaomi 18 is launched! Hyper OS 4 is here: Completely Removes MIUI Code and undergoes a Complete Transformation at the Core Level

    May 9, 2026

    Xiaomi’s Ultra-Large-Screen Flagship Returns: Xiaomi 17 Max Officially Enters the Market for Sale

    May 7, 2026

    Redmi K100 maintains a medium-sized screen of 6.6 inches: equipped with an 8500mAh battery

    May 6, 2026

    Xiaomi 18 Ultra Mystic Ring Edition leaks out: Global debut of Mystic Ring O3 – Xiaomi’s strongest super-large model

    fc 26 coins
    New Arrivals
    • Eleaf iStick X80 Vape Mod Kit Eleaf iStick X80 Vape Mod Kit
    • Eleaf iStick XC100 Vape Mod Kit Eleaf iStick XC100 Vape Mod Kit
    • Eleaf iStick Power 2 Vape Mod Kit Eleaf iStick Power 2 Vape Mod Kit
    • Eleaf iStick Pico Plus Vape Mode Kit Eleaf iStick Pico Plus Vape Mode Kit
    • Vaporesso XROS 6 Pod System Kit Vaporesso XROS 6 Pod System Kit
    • Lost Vape Thelema Q200 Pro Mod Kit Lost Vape Thelema Q200 Pro Mod Kit
    • Honor Play 80 Pro Honor Play 80 Pro
    • Honor MagicPad 3 Pro 12.3 Honor MagicPad 3 Pro 12.3
    • Lost Mary Viz 55K Disposable Vape Lost Mary Viz 55K Disposable Vape
    About
  • Igeekphone.com provides the first global tech news and reviews about smartphone, vapes, e-cigar, smart home, 3D printers, e-bike,tablets, RC drones, VR headset, and other accessories. It's the best platform to improve your brand and product.
  • Contact us: info@igeekphone.com
  • Check Our Privacy Policy Here.
  • Note: *Right now we have US editor and EU editors for review, especially for Amazon US and EU.
  • *Shop and Compare Price Here*
  • Facebook
  • Youtube
  • OUR BEST VAPE PARTNERS
  • VAPE ONLINE STORE
  • HAYATI PRO MAX PLUS
  • VAPORESSO
  • VOOPOO
  • OXVA
  • NEXA
  • MASKKING
  • TODOO
  • SP2S
  • VEIIK
  • OTHER BEST PARTNERS
  • SVBONY
  • Chuwi
  • Blackview
  • Fossibot
  • Unihertz
  • Flsun
  • Anycubic
  • Xtool
  • Oukitel
  • Mukkpet Ebike
  • Ugreen
  • Copyright © 2026 igeekphone

    Type above and press Enter to search. Press Esc to cancel.