










Ever notice your phone charges slower than it used to? Or the speaker’s started sounding like it’s underwater? Most of the time that’s not a hardware failure. It’s dust. Lint, pocket fluff, whatever’s floating around in your bag, all of it eventually works its way into the charging port, the speaker mesh, the gaps around your buttons. Give it enough time and it starts messing with how the phone actually performs.
You don’t need to be a repair tech to fix this. You do need the right tools though, and honestly, patience matters more than the tools do.
Why bother opening it up at all
A lot of the “my phone’s acting weird” complaints trace back to something as boring as dust buildup. Slow charging. Tinny or muffled audio. A power button that feels mushy. None of that needs a repair shop. It needs a cleaning.
That said, don’t rush this. Phones cram a lot of delicate hardware into very little space. Go in with the wrong tools, or the wrong attitude, and a simple clean turns into a cracked screen or a torn ribbon cable pretty fast.
What you actually need
Skip the sewing needles. Skip the kitchen tools too, people reach for these more than you’d think. Metal scratches contacts, shorts out components, and punctures ribbon cables way more easily than seems possible until it happens to you. A proper kit isn’t expensive and it saves you from turning a five-minute job into a phone-shaped paperweight.
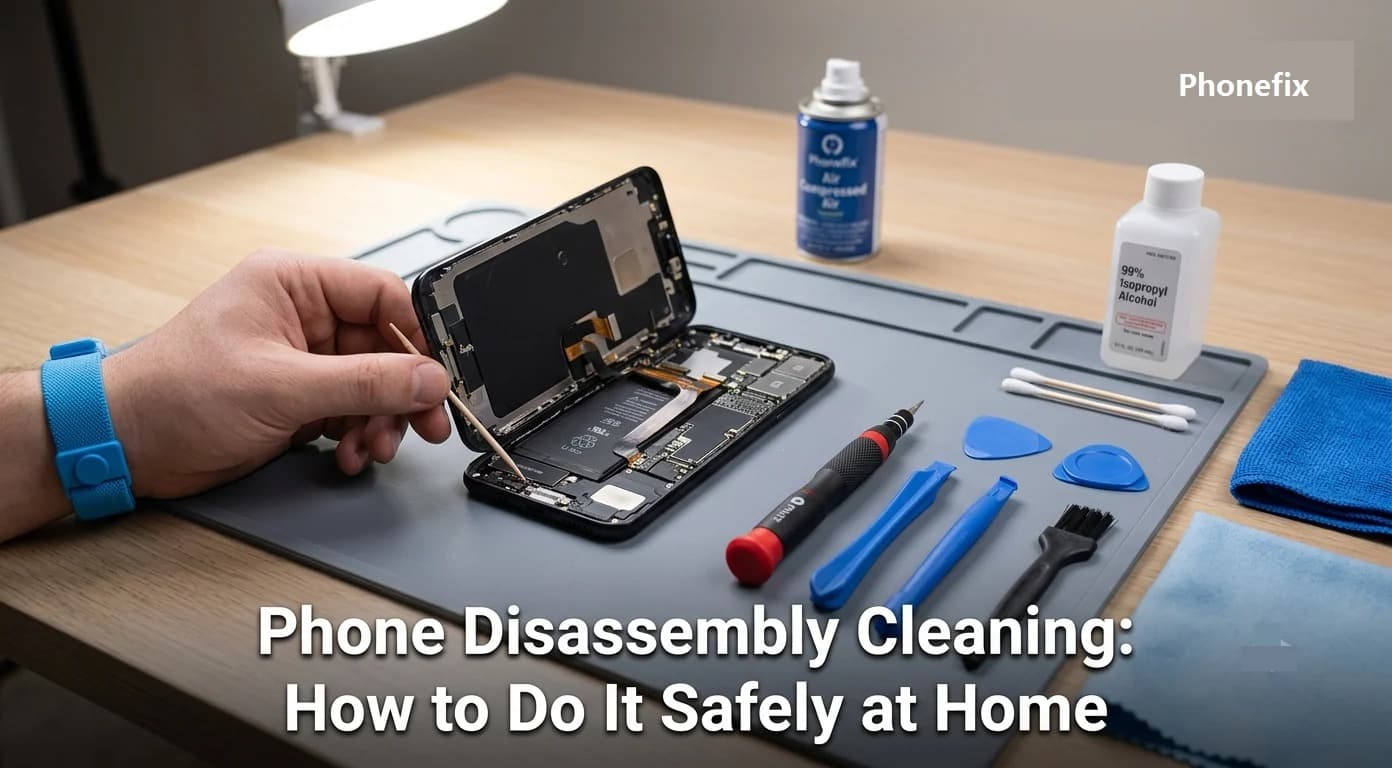
For getting inside the phone, you’ll want a decent precision screwdriver set. Phones mix Phillips, Pentalobe, and Tri-point screws depending on the model, and a single bit almost never covers it. Grab some plastic opening tools too, spudgers or picks, so you can pry the back cover or display loose without putting a scratch in the glass. And don’t skip the suction cup. It sounds unnecessary right up until you’re the one trying to lift a screen off its frame with just your fingernails, at which point you’ll really wish you had one.
The internals need their own gear. An ESD-safe brush handles dust on the board and connectors without throwing static into the mix, which matters more than most people assume going in. Compressed air is for short bursts held upright, not long blasts aimed wherever. For anything that needs actual cleaning, isopropyl alcohol at 90% or higher wipes residue off contacts and evaporates fast enough that you’re not sitting there worried about moisture getting somewhere it shouldn’t. A plain microfiber cloth covers the outside, nothing fancy needed there.
Ports and speakers are simpler. Wooden or plastic toothpicks dig out compacted lint (never metal, not even once), and a soft brush takes care of the speaker grilles and mic holes.
Rather not piece all this together from three different hardware stores? A kit like the PhoneFix precision electric screwdriver set covers most of the opening tools in one box, and diyfixtool.com has the brushes, spudgers, and mats to round out the rest.
Nice to have, not essential: ESD-safe tweezers, a magnetic mat so your screws don’t roll off into the void, a flashlight because you will need to actually see inside a phone-sized space at some point.
Before you touch anything
Static electricity doesn’t announce itself. One discharge can fry a chip and leave zero visible sign. You just find out later when the phone won’t turn on. Work on a hard floor, not carpet. Touch something grounded before you start. Use an ESD mat if you’ve got one.
Power the phone all the way off. Unplug it. Pull the SIM tray. Working on a live device is asking for a short circuit, plain and simple.
Keep your screws sorted as you go. They look interchangeable and mostly aren’t, and mixing them up is how you strip a thread during reassembly. A magnetic mat with little compartments earns its keep here, or honestly even just a muffin tin works.
Don’t force anything open. If the back or display isn’t separating, stop, don’t push harder, go check for a screw you missed. A lot of phones hide one or two under a rubber plug or a sticker. Forcing it is how screens crack.
The actual process
Start by turning the phone off, pulling the case and SIM tray, and clearing yourself a flat, well-lit space. Lay down a cloth or mat. Get your tools within reach so you’re not hunting for a screwdriver mid-job.
Opening it means pulling the screws (usually along the bottom edge or near the port) and then working a suction cup and pick around the display’s perimeter to break the adhesive seal. Go slow here. Ribbon cables sit just under the surface, so don’t push the pick more than a few millimeters deep. Line the screws up in the order you pulled them. You’ll thank yourself later.
Before cleaning anything, disconnect the battery. People skip this step and shouldn’t. Use a plastic spudger to lift the battery connector off the board. It kills power to the whole device, so short-circuit risk is basically off the table from here on.
With the battery disconnected, look over the board and connectors for visible dust or grime and sweep it off gently with the anti-static brush. No need to press hard, these components are surface-mounted and don’t need convincing. Stubborn spots can get a cotton swab lightly dampened with isopropyl alcohol, then just let it air-dry before moving on.
The charging port is usually the worst offender. Point it downward, hit it with short bursts of compressed air from an inch or two away, then work a toothpick gently along the inner walls, not straight into the center, to loosen anything compacted. Tilt the phone so debris falls out instead of further in. Finish with another round of compressed air and check it with a flashlight before you move on.
Speakers and mics just need a dry brush swept side to side across the grille. A strip of low-tack tape picks up what the brush misses. Go easy on the compressed air here, a full-force burst straight into a microphone can damage the membrane inside it.
Putting it back together: reconnect the battery first and make sure it clicks in, reattach any other cables, lower thedisplay back into place and press gently around the edges to reseat the adhesive. Screws go back in snug, not cranked down. Before you seal it up for good, power it on and test the basics, charging, touchscreen, speakers, mic, camera, buttons. Something off? Open it back up and check your connections before you close it for real.
Questions people actually ask
**How often should I do this?** Every six to twelve months for most people. More if you’re somewhere dusty or your pockets are basically lint factories. Wiping the outside and port down regularly cuts down how often you need the full teardown.
Can I just use water?** No. Water and corrosion go hand in hand, and corrosion doesn’t reverse itself. Stick to high-percentage isopropyl alcohol, it does the job and evaporates clean.
What happens if I tear a ribbon cable?** Whatever that cable runs, display, camera, a button, it stops working. Some models have replacement cables you can buy, but installing one usually means soldering, which is its own skill entirely. This is basically the whole case for going slow to begin with.
**Is it even worth opening the phone for a little dust?** For light buildup, no, not really. Compressed air and a wipe-down usually handles that. Save the full disassembly for actual charging problems, muffled audio, or debris you can see sitting in a port. And if it’s still under warranty, or you’re just not feeling confident, a repair shop is the safer call and nobody’s going to judge you for it.
Verdict
None of this is hard. It rewards patience over speed, that’s really the whole thing. The right tools matter more than people expect going in, a decent kit of screwdrivers and spudgers pays for itself the first time it stops you from cracking a screen. If you’re building a kit from nothing, PhoneFix makes tools built for this specifically, not repurposed junk-drawer stuff, and that alone takes a lot of the stress out of it.
Do it right and a proper internal clean fixes charging issues, clears up muffled speakers, and buys your phone real extra life. No repair bill attached.
Read Also: