










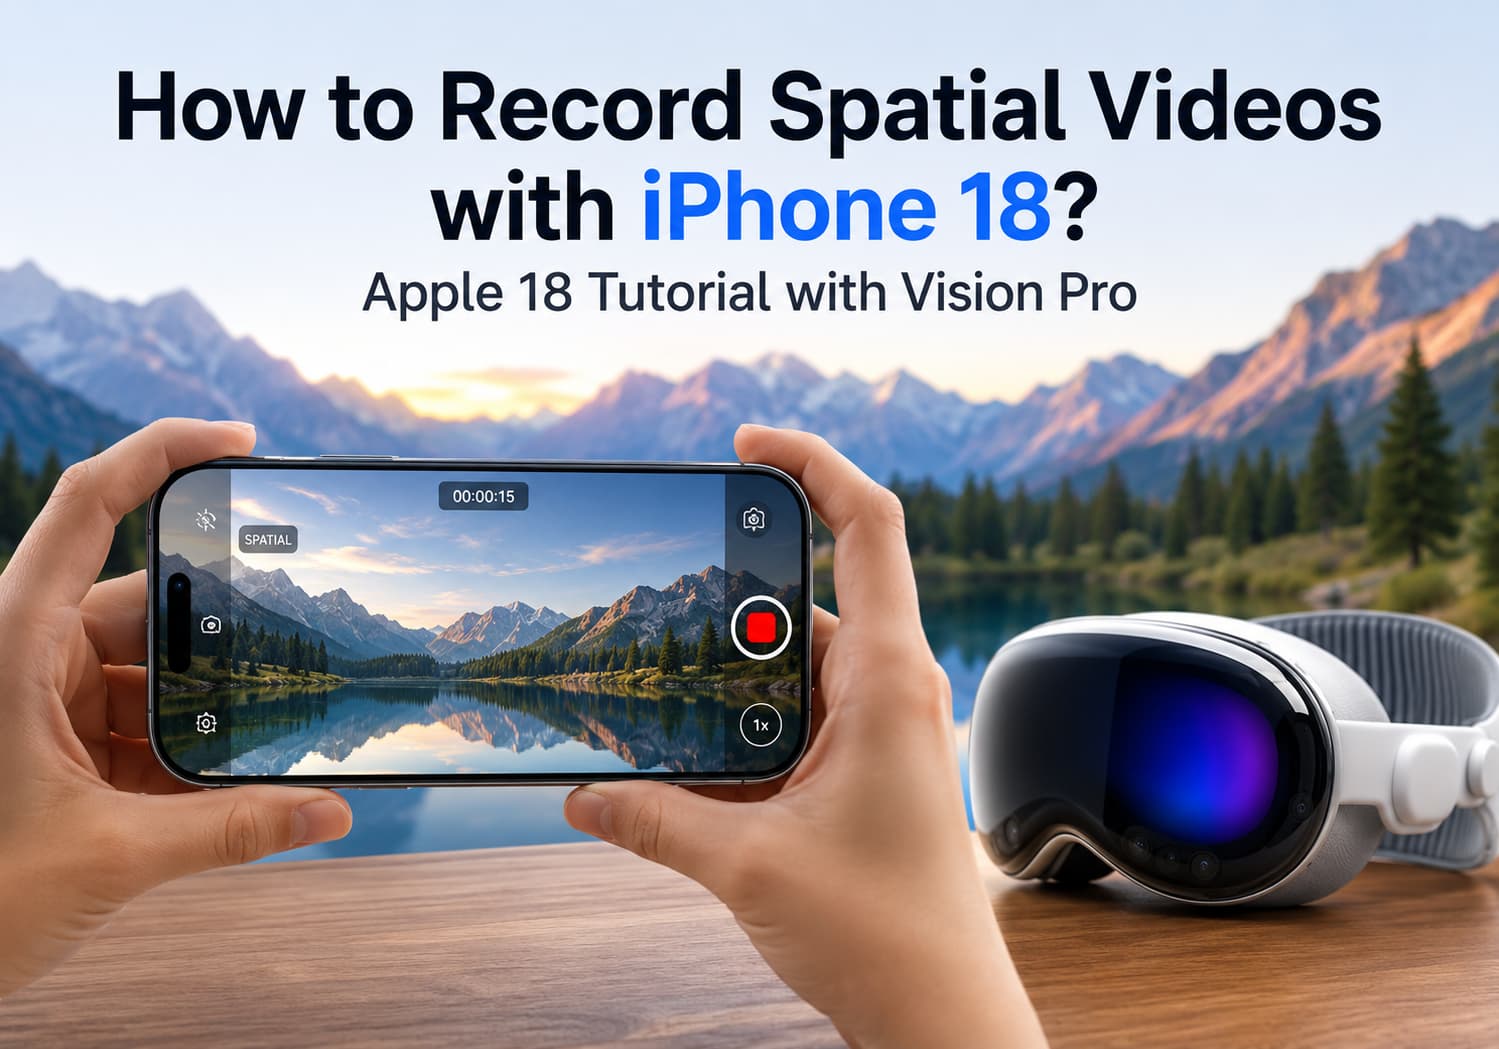
Apple continues to expand its Spatial Video ecosystem, making it easier than ever to capture memories that feel lifelike when viewed on Apple Vision Pro. If you own an iPhone 18 with support for Spatial Video, you can record immersive 3D videos directly from the Camera app and enjoy them later in Vision Pro as if you were reliving the moment.
This guide walks you through everything you need to know about recording Spatial Videos on the iPhone 18, along with practical tips for getting the best results.
What Is Spatial Video?
Spatial Video is Apple’s stereoscopic video format that records depth information using multiple camera lenses. Unlike standard videos, Spatial Videos preserve a sense of distance and dimension, allowing scenes to appear three-dimensional when viewed on Apple Vision Pro.
Although Spatial Videos appear as normal 2D videos on an iPhone, iPad, or Mac, they transform into immersive 3D memories inside Vision Pro. Apple records Spatial Video using the MV-HEVC format, which stores separate views for each eye while remaining compatible with regular Apple devices.
Which iPhone 18 Models Support Spatial Video?
Apple is expected to continue Spatial Video support across compatible iPhone 18 models, following the workflow introduced on earlier supported iPhones. Supported devices include those with the necessary camera hardware and compatible iOS version. Apple has not announced any major changes to the recording process for iPhone 18.
How to Record Spatial Video on iPhone 18
Recording a Spatial Video only takes a few seconds to set up.
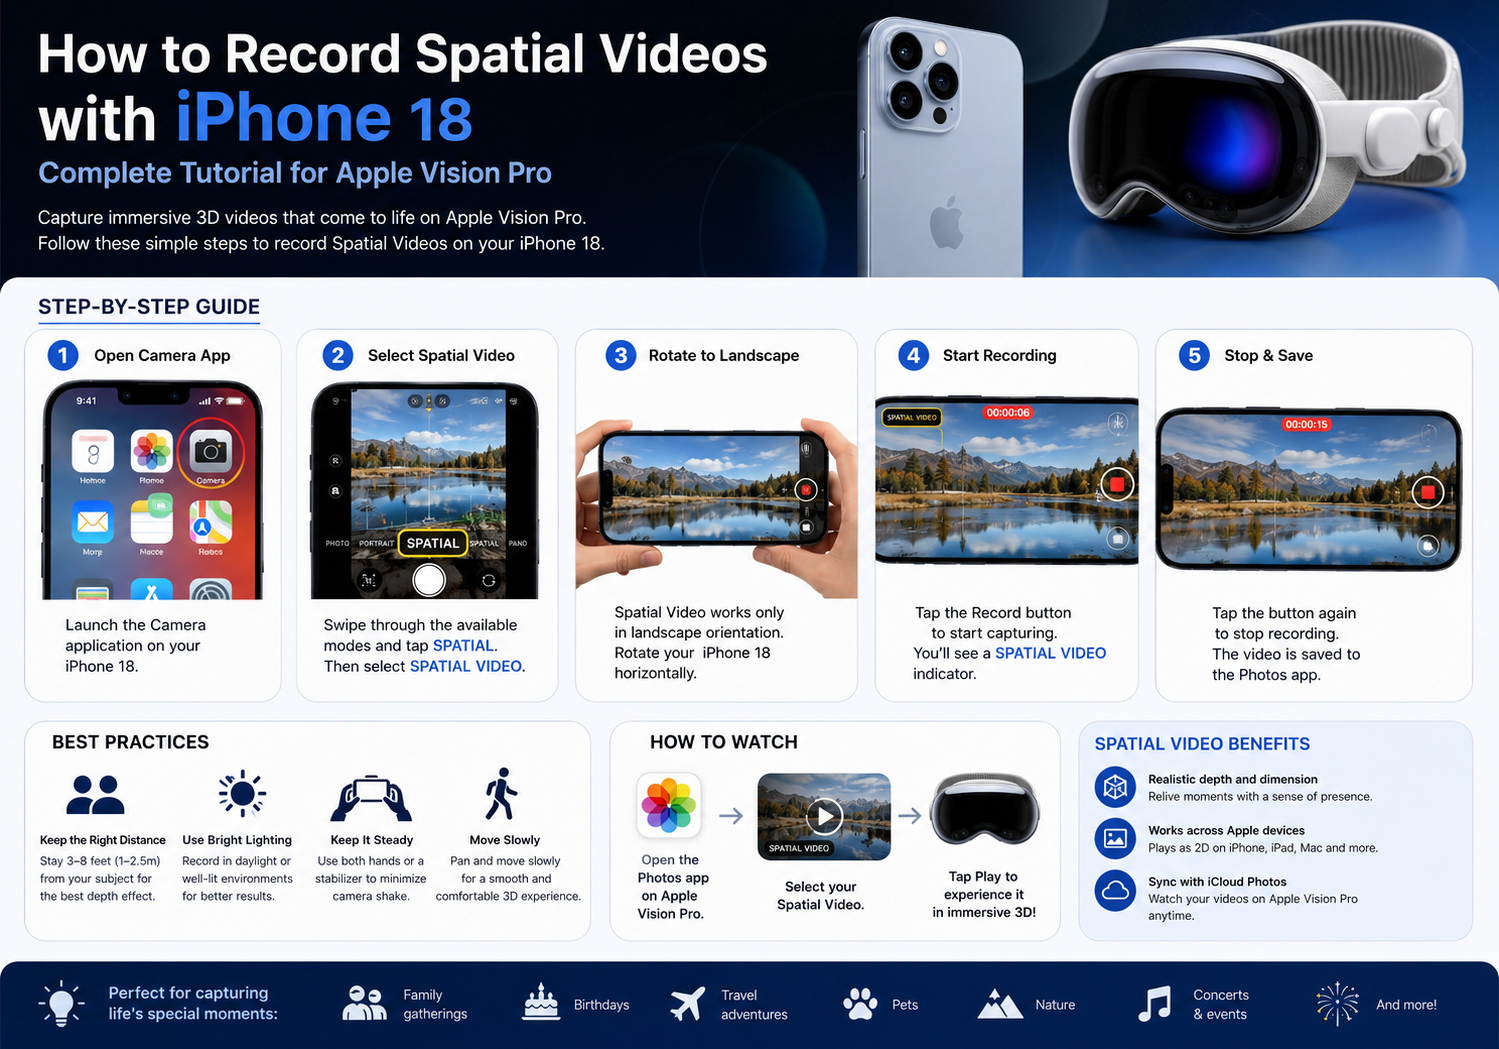
Step 1: Open the Camera App
Launch the Camera application on your iPhone 18.
Step 2: Select Spatial Mode
Swipe through the available shooting modes until you find Spatial.
Depending on your iOS version, you’ll see separate options for:
- Spatial Photo
- Spatial Video
Choose Spatial Video.
Step 3: Rotate the Phone
Spatial Video works only when the phone is held in landscape orientation.
This allows the camera system to capture two viewpoints that mimic human vision.
Step 4: Start Recording
Tap the Record button to begin capturing.
You’ll notice a Spatial Video indicator confirming that you’re recording in Apple’s 3D format.
Step 5: Stop Recording
Tap the Record button again when you’re finished.
The video is automatically saved to the Photos app.
If you use iCloud Photos, it can also sync to your Apple Vision Pro for playback.
Best Practices for Better Spatial Videos
Keep Your Phone Steady
Camera shake is much more noticeable in immersive video.
Use both hands or a stabilizer whenever possible.
Stay the Right Distance Away
Apple recommends keeping your main subject approximately 3 to 8 feet (1–2.5 meters) away.
This distance creates the strongest depth effect inside Vision Pro.
Use Bright Lighting
Spatial Video works best with:
- Outdoor daylight
- Bright indoor lighting
- Even illumination
Low-light environments reduce image quality and depth accuracy.
Move Slowly
Instead of quickly panning the camera:
- Walk slowly
- Pan gently
- Let subjects move naturally
Smooth motion creates a more comfortable viewing experience inside Vision Pro.
Capture Real-Life Moments
Spatial Video shines when recording personal memories, such as:
- Family gatherings
- Birthday parties
- Children playing
- Pets
- Travel adventures
- Nature walks
- Holidays
- Weddings
These types of scenes benefit most from the added sense of depth.
How to Watch Spatial Videos
Once you’ve recorded your videos:
- Open the Photos app on Apple Vision Pro.
- Select your Spatial Video.
- Tap Play.
Vision Pro automatically displays the footage in immersive 3D, making it feel as though you’re stepping back into the original moment. On iPhone, iPad, Mac, or other Apple devices, the same file plays back as a standard 2D video.
Can You Edit Spatial Videos?
Yes.
Apple supports Spatial Video editing in Final Cut Pro, while maintaining the depth information required for Vision Pro playback. Professional creators can trim clips, adjust color, and export finished projects without losing compatibility with Apple’s spatial format.
Common Mistakes to Avoid
For the best immersive results:
- Don’t record vertically.
- Avoid rapid camera movements.
- Don’t stand too far from your subject.
- Avoid very dark environments.
- Keep the horizon level.
- Try not to block one of the camera lenses.
Following these guidelines helps preserve the natural 3D effect.
Frequently Asked Questions
Can Spatial Videos be shared?
Yes. Spatial Videos can be shared just like ordinary videos. They remain compatible with Apple devices, but only supported devices such as Apple Vision Pro can display the full 3D experience.
Do Spatial Videos take more storage?
Yes. Because they contain additional depth information, Spatial Videos generally require more storage than standard videos, though Apple uses efficient MV-HEVC compression to keep file sizes manageable.
Can I watch Spatial Videos without Vision Pro?
Yes. They play normally as standard 2D videos on iPhone, iPad, Mac, and other compatible Apple devices. Only Vision Pro presents the immersive stereoscopic effect.
Final Thoughts
The iPhone 18 makes it simple to preserve life’s special moments in a more immersive format. By using Spatial Video, you can create recordings that go beyond traditional 2D footage, allowing you to revisit birthdays, vacations, family events, and everyday memories with remarkable depth on Apple Vision Pro.
With just a few simple steps—switching to Spatial mode, holding the phone horizontally, keeping subjects within the recommended distance, and recording in good lighting—you can create immersive videos that are ready to enjoy today and for years to come. Whether you’re documenting family milestones or capturing unforgettable travel experiences, Spatial Video is one of the most exciting camera features in Apple’s ecosystem.