


In the field of smartphone photography, the iPhone Air series, with its powerful camera performance and intelligent algorithms, has become an excellent tool for documenting life and capturing beautiful scenes. Among them, the panorama mode, through the intelligent stitching of multiple photos, can generate images with an ultra-wide viewing angle, which is particularly suitable for shooting magnificent landscapes, grand buildings, or large indoor scenes. The following will detail the entire process of iPhone Air’s panoramic shooting from three dimensions: operation steps, shooting techniques, and creative gameplay.
I. Basic Operation: Three steps to activate the panoramic mode
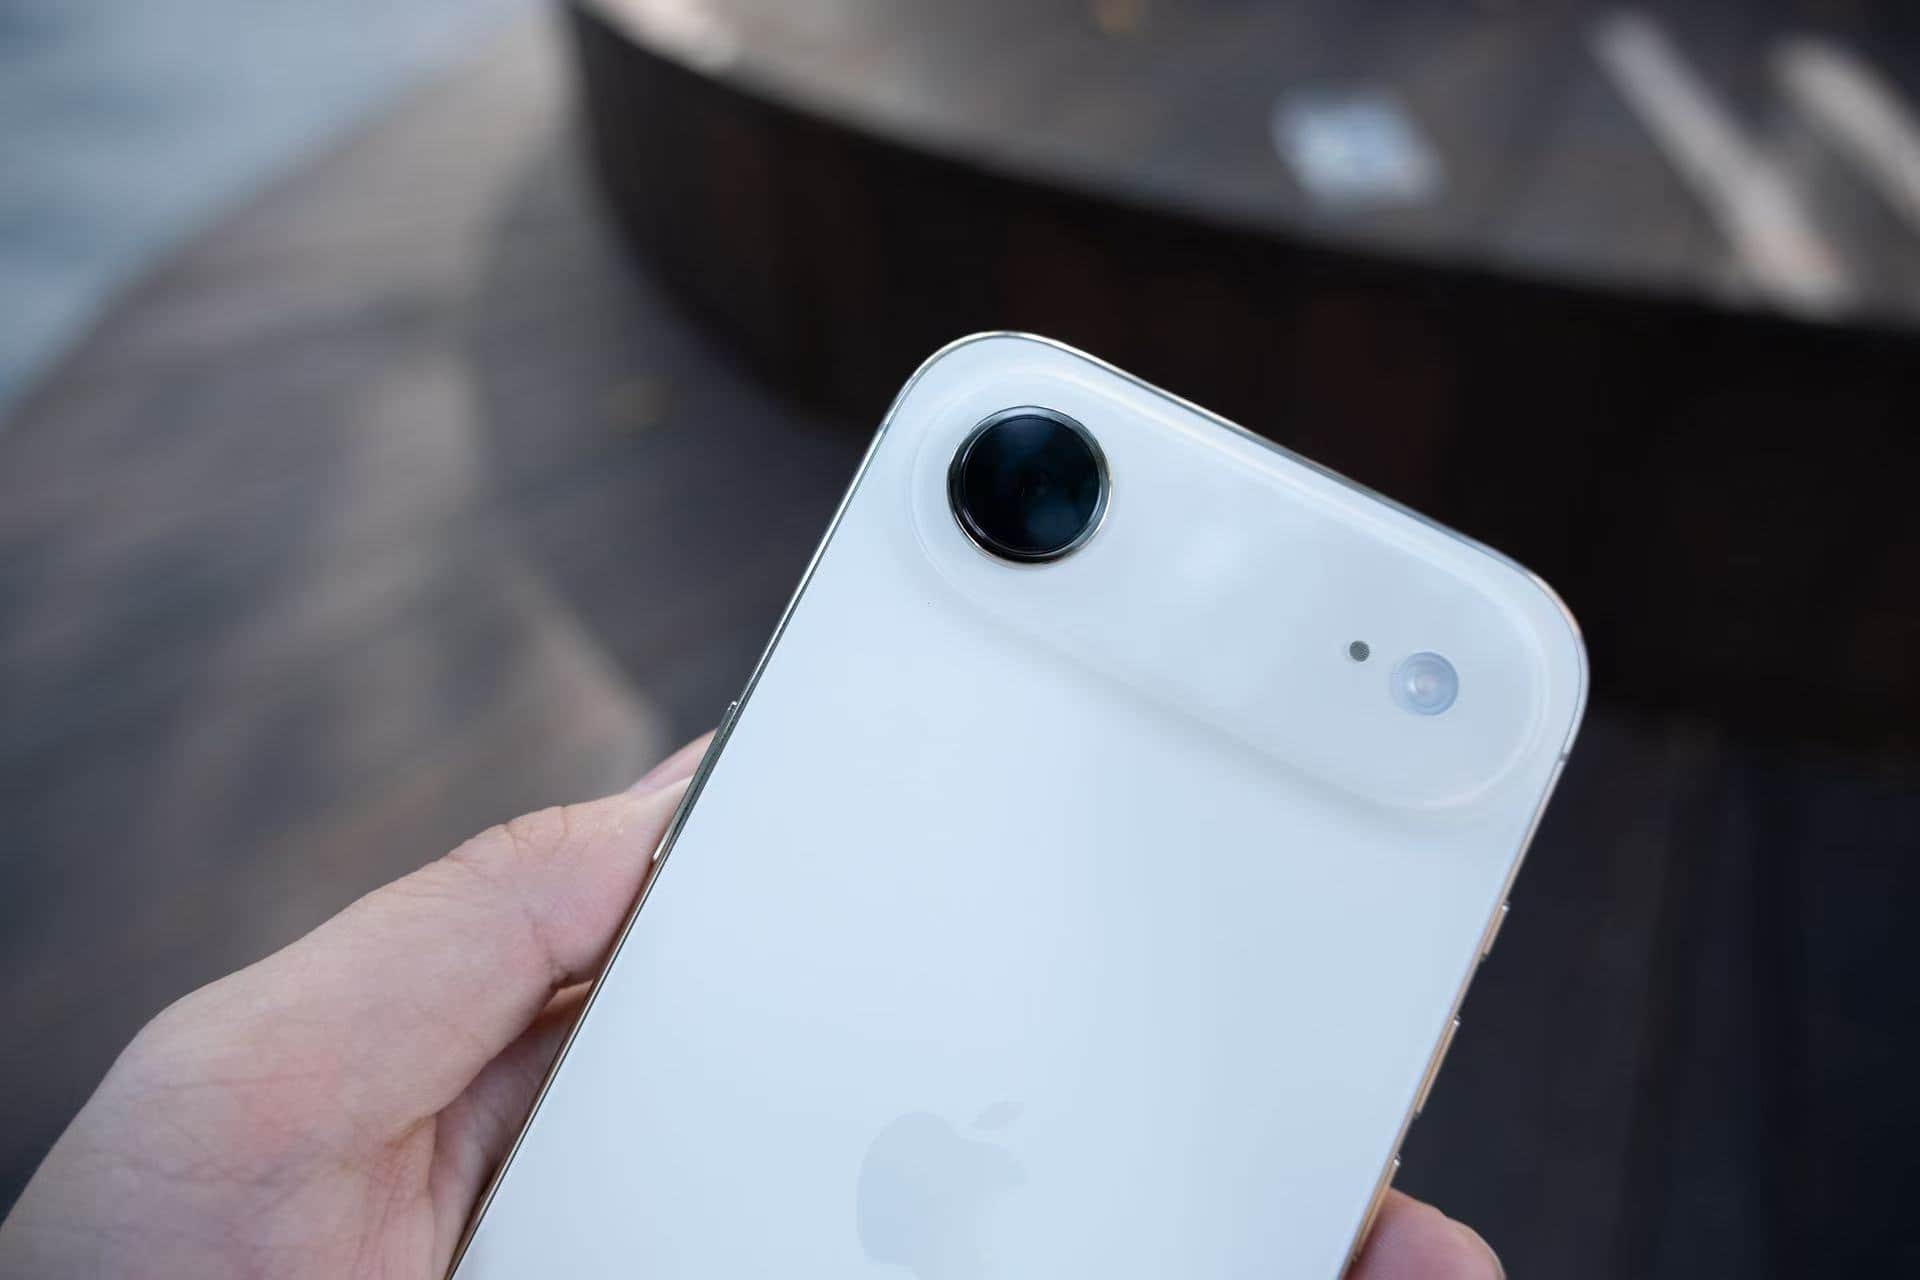
Enter the camera interface
After unlocking the phone, find the “Camera” icon on the home screen and click on it. Alternatively, you can quickly start the camera by swiping left from the lock screen. Once inside the camera, the default mode is “Photos”. At this point, you need to slide the mode selection bar at the bottom of the screen to switch to the “Panorama” mode. In some iOS versions, the panorama mode icon may be labeled as “P” or simply display the word “Panorama”.
2. Adjust the shooting direction
After entering the panoramic mode, a white arrow will appear in the center of the screen, indicating that the default shooting direction is from left to right. If you want to shoot in the opposite direction (from right to left), simply tap the arrow to switch. This function is particularly useful when shooting symmetrical scenes or specific compositions.
3. Start the shooting process
Click the white circular shutter button at the bottom of the screen. The button will immediately change to a square shape, indicating that the shooting mode has been activated. At this point, slowly move the phone in the direction of the arrows while maintaining a constant speed and a horizontal position until the panoramic scan is completed. After the shooting is finished, there is no need to click the shutter again. The iPhone Air will automatically end the shooting and generate the photo.
II. Advanced Techniques: The Five Core Elements for Enhancing Picture Quality
Maintain the stability of the equipment
During the shooting process, hand tremors are the main cause of blurry images or misaligned seams. It is recommended to hold the phone with both hands and keep the elbows close to the body to reduce shaking; if possible, using a tripod or a phone stand can further improve stability. Some users also use fixed objects on the table or railings as support points.
2. Control the movement speed
Constant movement is the key to panoramic shooting. Moving too fast may cause image blurring, while moving too slowly may trigger the automatic termination mechanism. You can adjust the movement rhythm by observing the progress bar and auxiliary lines on the screen. For example, when shooting landscapes, you can slowly and smoothly move the phone in sync with your breathing rate; when shooting buildings, you need to adjust the vertical movement speed according to the height.
3. Optimize lighting and exposure
Lighting conditions directly affect the quality of photos. In strong light conditions, it is recommended to manually adjust the exposure compensation to avoid overexposure of the highlights; in low-light scenarios, you can enable the night mode or use a tripod to extend the exposure time. Additionally, when moving from a bright area to a dark area for shooting, it is necessary to lock the focus and exposure in advance to prevent sudden changes in the brightness of the image.
4. Avoiding Dynamic Interference
The panoramic mode works best for stitching static scenes. When shooting, avoid dynamic objects such as pedestrians and vehicles, or choose a period when their movement direction is perpendicular to the shooting trajectory. For example, when shooting a street panorama, wait for the traffic lights to turn red to reduce the movement elements in the picture.
5. Expand the perspective by using vertical panoramic views
In addition to the horizontal panorama mode, iPhone Air also supports vertical shooting. By rotating the phone 90 degrees to the horizontal mode, and entering the panorama interface, you can move the phone downward or upward from the bottom or upward from the top to capture the full view of vertical scenes such as towering buildings and waterfalls. This feature is particularly suitable for shooting iconic buildings like the Oriental Pearl Tower and the Eiffel Tower.
III. Creative Gameplay: Unleashing the Hidden Potential of the Panoramic Mode
Doppelgänger effect: One person playing multiple roles simultaneously
In the panoramic mode, have the model repeatedly assume different poses in the frame to achieve the “doppelgänger” effect. The specific operation is as follows: Fix the position of the phone, start the shooting, then the model quickly moves from in front of the camera to another position and assumes a new pose. Repeat this process until the shooting is completed. In the final photo, multiple different forms of the same person will be presented, which is suitable for creating funny group photos or narrative scenes.
2. Perspective Distortion: Creating Visual Illusions
By controlling the shooting distance and angle, the panoramic mode can be used to create a perspective distortion effect. For example, when shooting a staircase, slowly move the phone upwards from the bottom, making the staircase appear to spiral upwards in the photo; or when shooting a tunnel, move from the entrance to the depth, enhancing the sense of space extension.
3. Macro Panorama: Capturing Fine Texture Details
Place the phone close to the subject (such as petals or leaves), activate the panorama mode and move it slowly. This will generate a high-resolution macro panorama photo. This method can simultaneously display the overall shape of the subject and its local details, making it suitable for capturing fine objects such as insects and handicrafts.
IV. Post-processing: Making Panoramic Photos More Eye-Catching
After the shooting is completed, basic editing can be done through the “Photos” application that comes with the iPhone, such as adjusting brightness, contrast, and saturation, or applying filters to enhance the atmosphere. For more professional processing, third-party applications like Snapseed and VSCO can be used for operations such as cropping, restoration, and color separation. Additionally, panoramic photos support sharing via AirDrop, social media, or cloud storage. Some platforms (such as Instagram) also offer dedicated display formats for panoramic photos.
From basic operations to creative practices, the panoramic mode of iPhone Air offers users a vast space for expression. After mastering these techniques, one can effortlessly capture the magnificent scenery during travels or create unique artistic works.