


Entering the BIOS (Basic Input/Output System) is an essential part of configuring your computer’s hardware, managing boot settings, and troubleshooting. In 2026, with newer systems and technologies in place, the process of accessing BIOS remains fairly consistent, but it’s essential to understand the universal key operation for modern PCs.
This guide will walk you through how to enter the BIOS on any computer in 2026, ensuring you have full access to system settings, hardware diagnostics, and troubleshooting options.
What is BIOS?
The BIOS (or its modern replacement, UEFI—Unified Extensible Firmware Interface) is a low-level software that runs when your computer starts up. It acts as an intermediary between your operating system and the hardware, allowing you to configure settings like boot order, system time, and hardware configurations (like memory, CPU, and storage devices).
Though modern computers often use UEFI (which provides more advanced features), the core functionality and access method remain the same. When you need to change settings such as boot options, password settings, overclocking, or security configurations, the BIOS/UEFI is the place to do it.
Why Do You Need to Access BIOS?
- Boot Order: If you want to boot from a USB drive, CD/DVD, or external hard drive.
- Overclocking: Tuning your CPU, RAM, or GPU to run at higher speeds (if supported).
- Hardware Configuration: Change settings for integrated graphics, CPU, RAM, storage devices, and more.
- Troubleshooting: Diagnose hardware issues or reset configurations to their defaults.
- Security: Set up passwords for system access or enable/disable Secure Boot.
Step-by-Step Guide to Entering BIOS in 2026
While modern systems are fast and boot up quickly, the BIOS key must be pressed at the right moment. If you miss it, your operating system may start booting before you can access the BIOS.
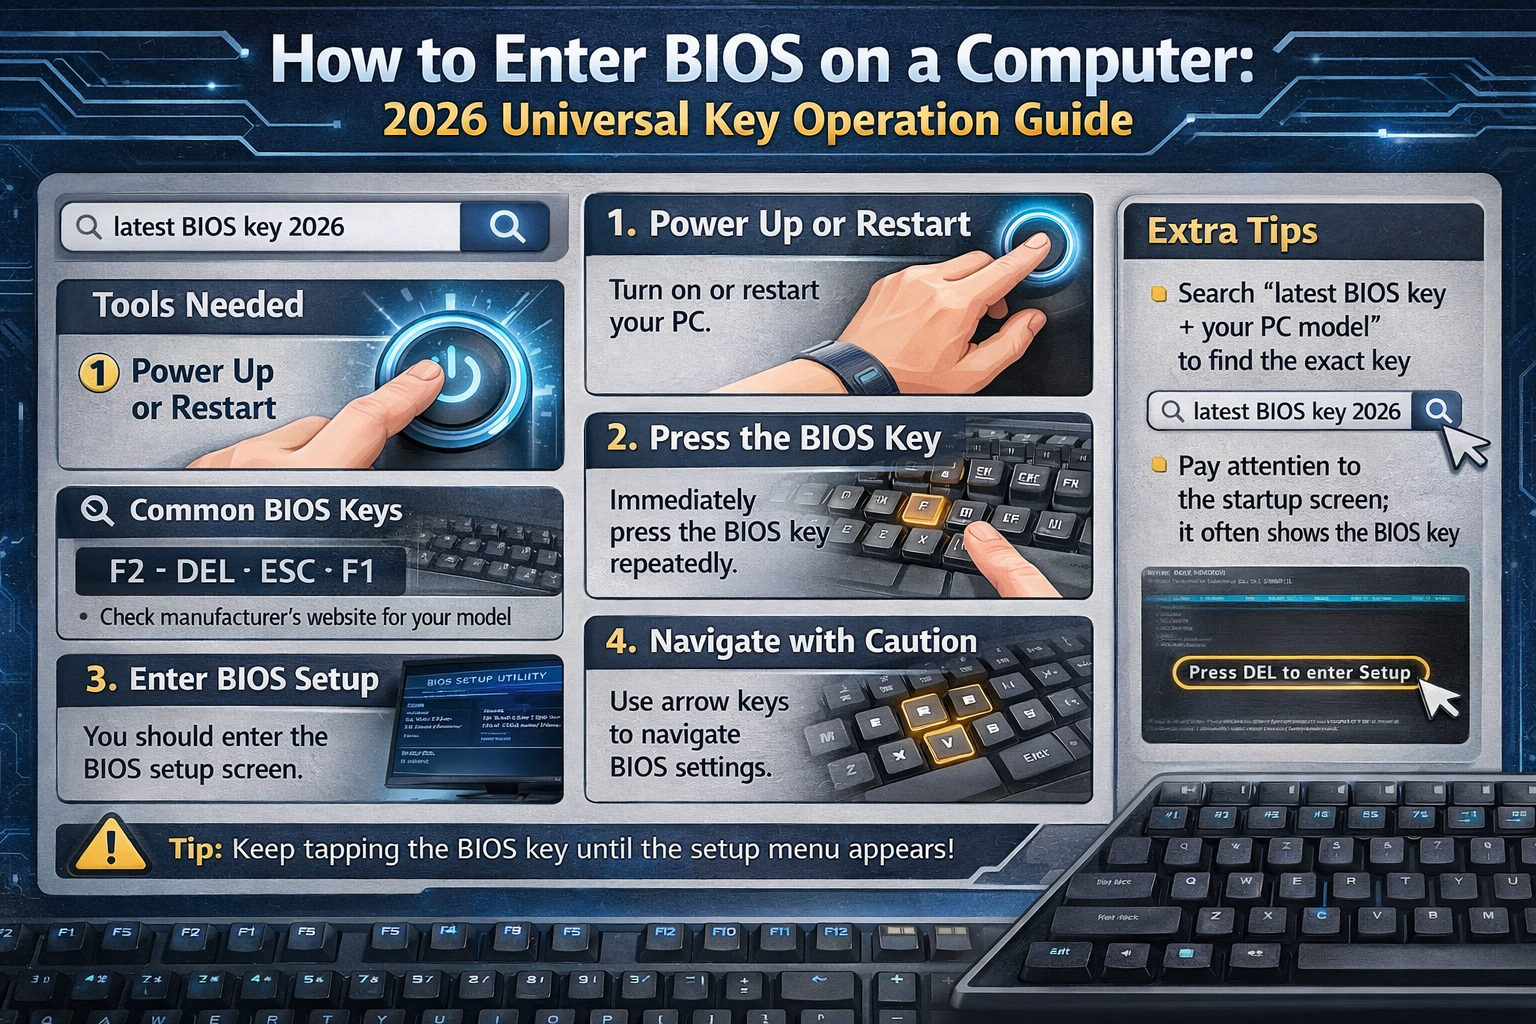
Follow these steps to enter BIOS:
Step 1: Power Off and Restart Your Computer
- If your system is currently running, shut it down completely.
- Once powered off, press the power button to turn the computer back on.
Step 2: Watch for the BIOS Access Prompt
As soon as the computer begins to power up, immediately press the appropriate BIOS key. On most computers, a logo or splash screen will appear briefly as the system initializes. This screen often includes a text prompt telling you which key to press, such as “Press F2 to enter Setup,” “Press ESC for BIOS,” or “Press DEL to enter BIOS.”
In 2026, the most common BIOS entry keys remain F2, DEL, or ESC, but the key may vary depending on the manufacturer of your motherboard or laptop.
Step 3: Press the BIOS Key
The timing is crucial here! As the computer boots up, press the BIOS key repeatedly (once every second) until you see the BIOS/UEFI interface. Do not press it just once, as you might miss the window.
Here’s a list of the most common BIOS keys in 2026:
- F2 – Most common for many laptop and desktop PCs (especially from manufacturers like Dell, Acer, and ASUS).
- DEL (Delete) – Often used on desktop computers, particularly those with custom-built systems.
- ESC – Common for systems from HP and some custom desktop PCs.
- F10 – Common on HP computers.
- F12 – Often used for boot menu access, but in some systems, it may take you to BIOS/UEFI.
Note:
- UEFI Firmware Settings: If your system uses UEFI rather than BIOS, the process is the same, but you may see a more advanced menu with options like Secure Boot, TPM, and more.
- If You Miss the BIOS Window: If your computer boots into Windows or another operating system without entering the BIOS, just restart and try pressing the key again when you power on the computer. You can also try holding down the Shift key while restarting (on Windows 10/11 and beyond) to access advanced startup options.
Step 4: Navigate BIOS/UEFI Settings
Once you successfully enter the BIOS or UEFI, you will be greeted with a menu that can vary by manufacturer. You will typically find options to configure:
- Boot Order (change the priority of boot devices like SSDs, USBs, and DVDs)
- CPU Configuration (enable/disable CPU features like hyper-threading or virtualization)
- Memory Configuration (adjust RAM settings or enable XMP profiles)
- Security Settings (enable or disable TPM, Secure Boot, etc.)
- Power Management (manage CPU power states, sleep mode settings, etc.)
- Fan Settings (adjust CPU and system fan speeds for cooling optimization)
The interface will likely be navigated using your keyboard (arrows, Enter, and Escape). In UEFI systems, you may also be able to use a mouse for easy navigation.
Step 5: Save and Exit BIOS/UEFI
After making your changes, be sure to save them. Typically, you will find an option to Save and Exit or Exit with Changes under the “Exit” or “Save & Exit” menu. Follow the on-screen instructions and confirm your action.
If you made any changes you don’t want to save, you can exit without saving or load default settings by selecting the “Restore Defaults” option.
What to Do If BIOS Doesn’t Open?
If you find that pressing the designated key doesn’t take you to the BIOS setup, consider the following:
- Check the Manufacturer’s Documentation: Some systems may have a unique or less common BIOS entry key. Check your computer’s manual or the manufacturer’s website.
- Use Windows Recovery: For Windows users, you can also access BIOS through Windows Advanced Startup:
- Go to Settings → Update & Security → Recovery → Advanced Startup → Restart Now.
- Once the system restarts, choose Troubleshoot → Advanced Options → UEFI Firmware Settings.
Conclusion
Entering the BIOS is a fundamental step in customizing your computer’s settings or troubleshooting hardware issues. By following the steps outlined above, you can easily access the BIOS on most computers in 2026. Remember, the key to success is timing—pressing the BIOS entry key at the right moment during boot-up is key!
Whether you’re managing boot options, overclocking, or adjusting security settings, BIOS/UEFI is your gateway to controlling your system at a deeper level.