Introduction:
The Anycubic Kobra 2 Neo 3D printer is a powerful and versatile machine that allows you to bring your creative ideas to life. Whether you’re a beginner or an experienced user, this guide will walk you through the step-by-step process of setting up and using the Anycubic Kobra 2 Neo, ensuring a seamless printing experience.
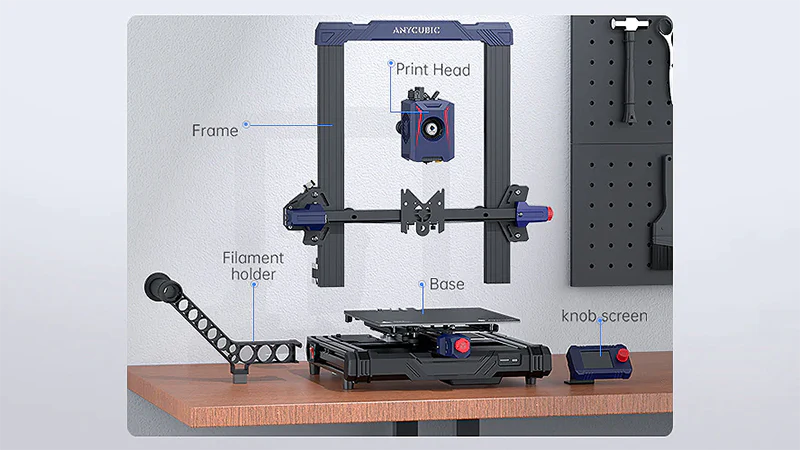
- Unboxing and Initial Setup: Begin by carefully unboxing the Anycubic Kobra 2 Neo and inspecting all the components included. Ensure that everything is present, including the printer, power supply, USB cable, filament spool holder, filament spool, scraper, and accessories. Follow the provided instructions to assemble the printer, including attaching the filament spool holder, screen, and connecting the necessary cables.
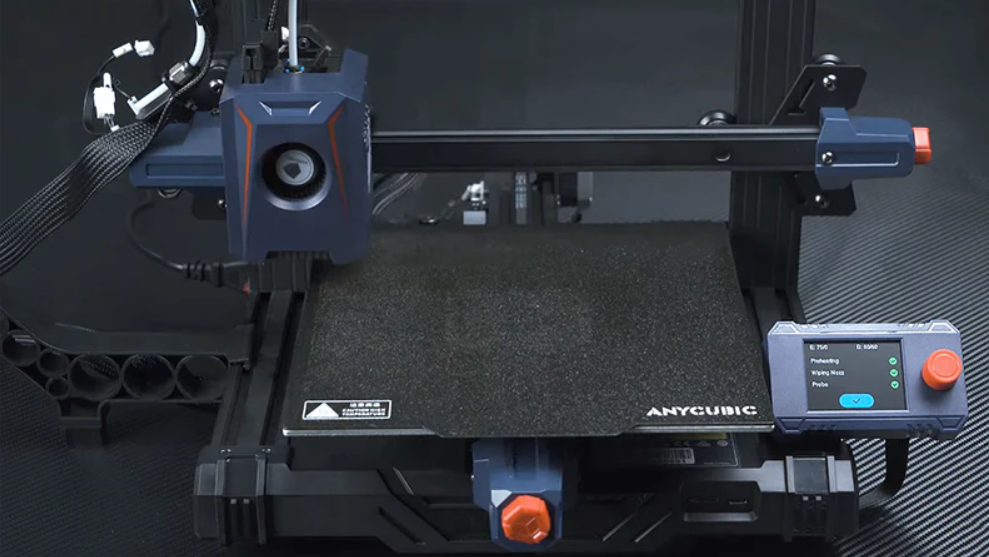
- Bed Leveling: Properly leveling the printer bed is crucial for achieving accurate and successful prints. Utilize the provided leveling sheet or a piece of paper and adjust the four leveling knobs beneath the print bed. Aim for a consistent and slight resistance when sliding the paper between the nozzle and the bed.

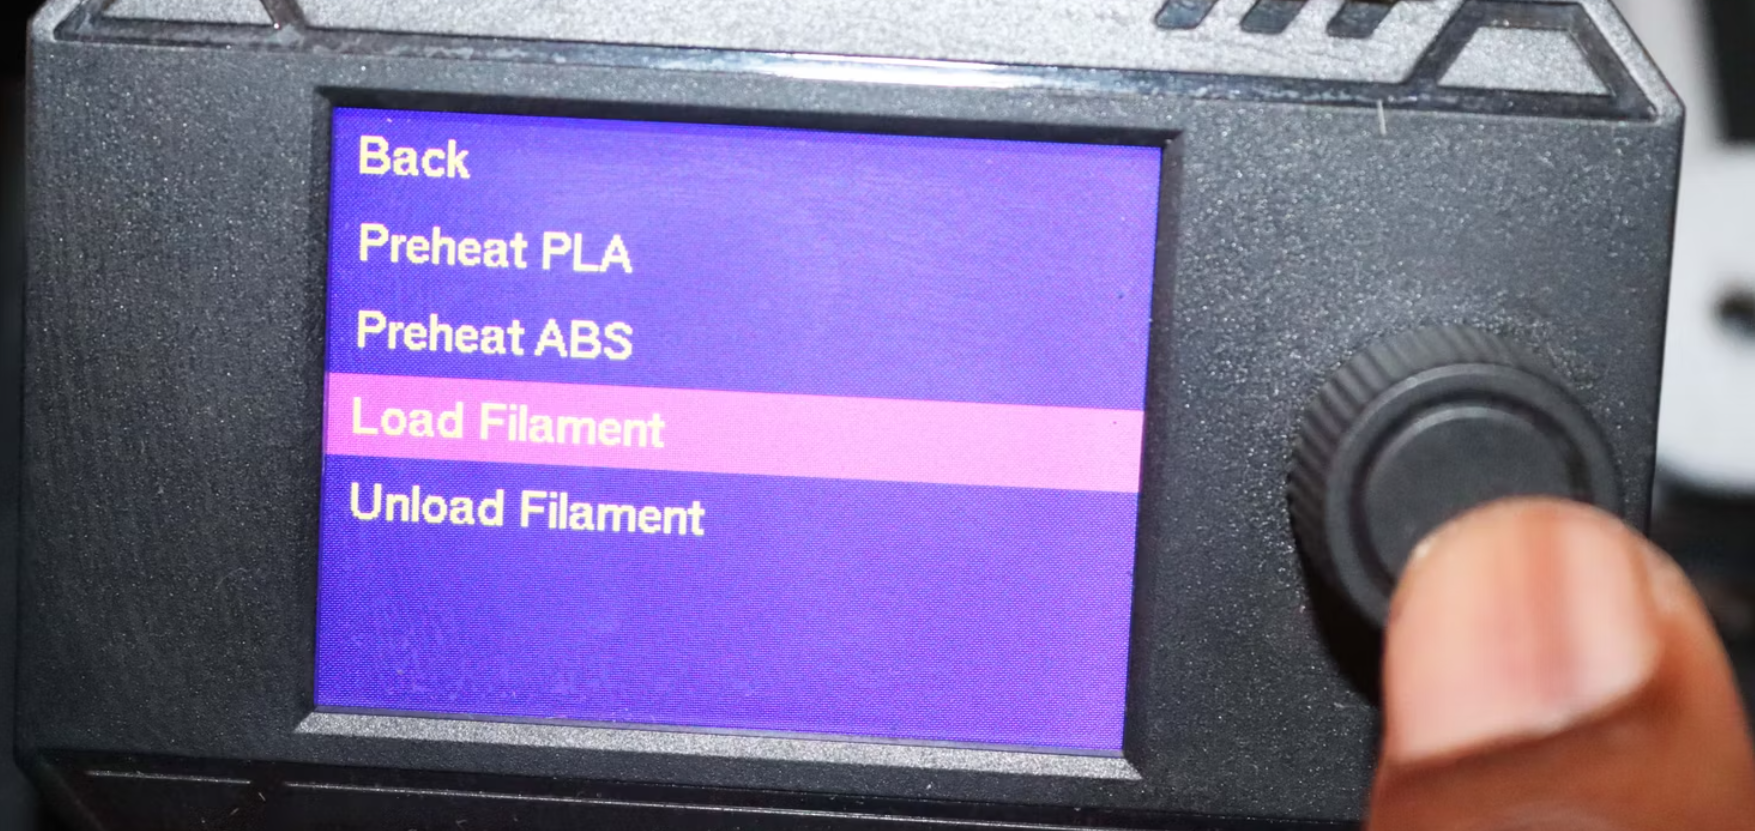
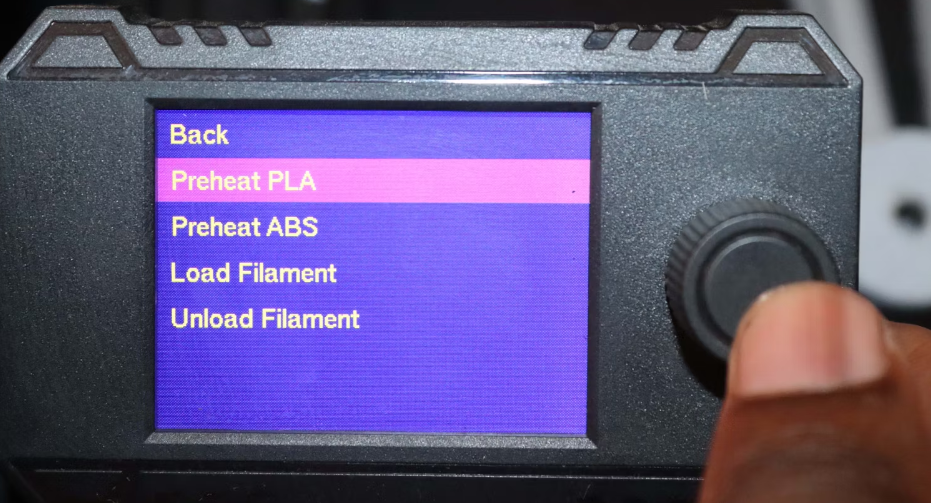
- Filament Loading: Install the filament spool on the spool holder and feed the filament through the filament guide tube into the printer’s filament inlet. Gently push the filament until it reaches the extruder. On the printer’s menu, navigate to the filament loading option and follow the on-screen instructions to load the filament into the extruder.If you are using ABS filament, you can select Preheat ABS instead. Once selected, you will see a thin filament extruding from the nozzle.
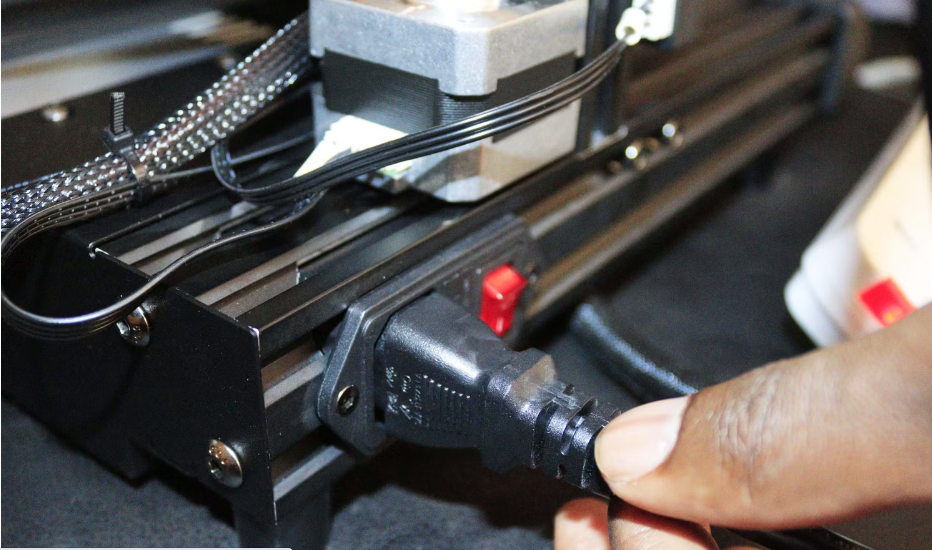
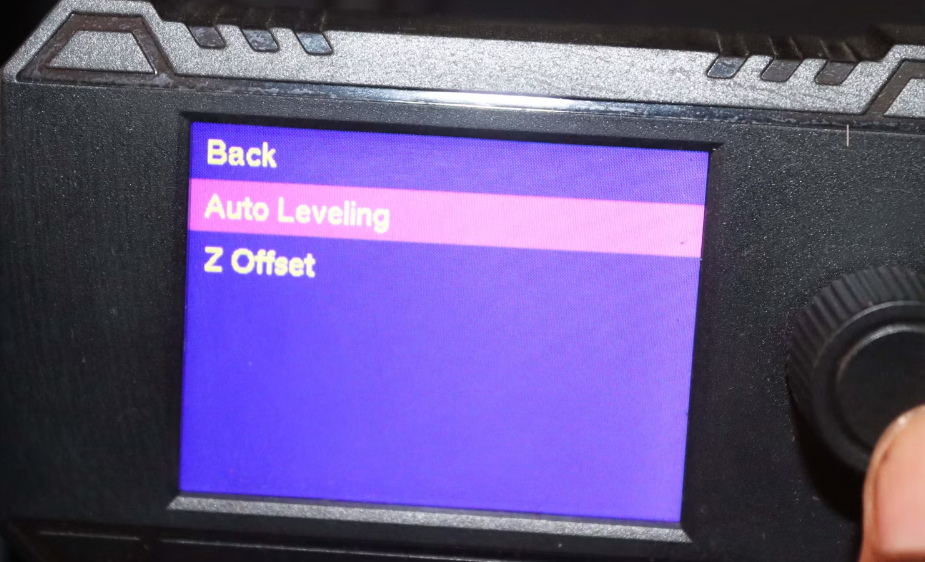
- Software Installation and Configuration: Download and install the latest version of Anycubic’s slicing software, such as ‘Chitubox’, on your computer. Connect the Anycubic Kobra 2 Neo to your computer using the provided USB cable and ensure it is recognized by the software. Familiarize yourself with the software’s interface and options to prepare your 3D models for printing.
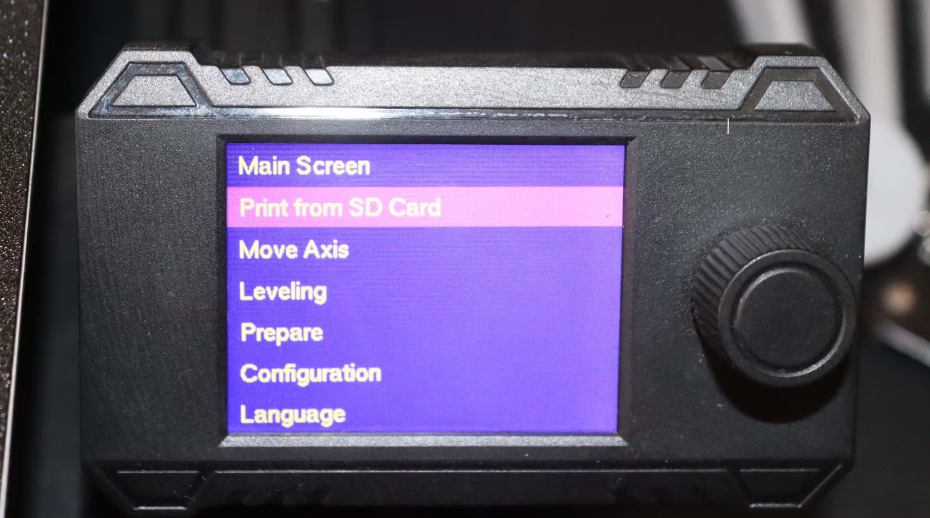
- Model Slicing and File Transfer: Import your 3D model file into the slicing software. Adjust the settings, including layer height, print speed, and infill density, based on your preferences and model requirements. Once satisfied, click on the ‘Slice’ button to generate the necessary printer instructions. Save the sliced file, usually in .cbddlp format, onto an SD card or transfer it directly to the printer using the USB connection.
- Printing Process: Insert the SD card into the printer or select the file from the printer’s menu if using the USB connection. Locate the sliced file and select it to initiate the printing process. Monitor the progress as the Anycubic Kobra 2 Neo begins printing your 3D object layer by layer. Avoid interfering with the printer during the printing process to ensure a successful print.
- Post-Processing: Once the print is complete, carefully remove the printed object from the print bed using the provided scraper or spatula. If necessary, remove any excess support structures. Depending on the material used, you may need to perform additional post-processing steps, such as sanding or painting, to achieve the desired finish.
Check video in details here
Conclusion:
By following this comprehensive guide, you can confidently set up and use the Anycubic Kobra 2 Neo 3D printer. Remember to refer to the manufacturer’s user manual for specific details and safety guidelines. With practice and experimentation, you’ll be able to unleash your creativity and bring your ideas to life through the remarkable capabilities of the Anycubic Kobra 2 Neo.
Where to Buy:
Right now Anycubic official store can offer you where you can buy the Anycubic Kobra 2 Neo directly along with its accessories and replacement parts. You can also see user manual for official instruction for this and other four printers here: https://www.anycubic.com/pages/firmware-software .


