The new Creality Ender-3 V3 SE from Creality continues the company’s tradition of offering affordable Ender-3 3D printers. Despite mixed receptions for some of Creality’s recent releases, the Ender-3 series remains one of the company’s major strengths. Indeed, these 3D printers have played a significant role in transforming the company into the industry giant it is today.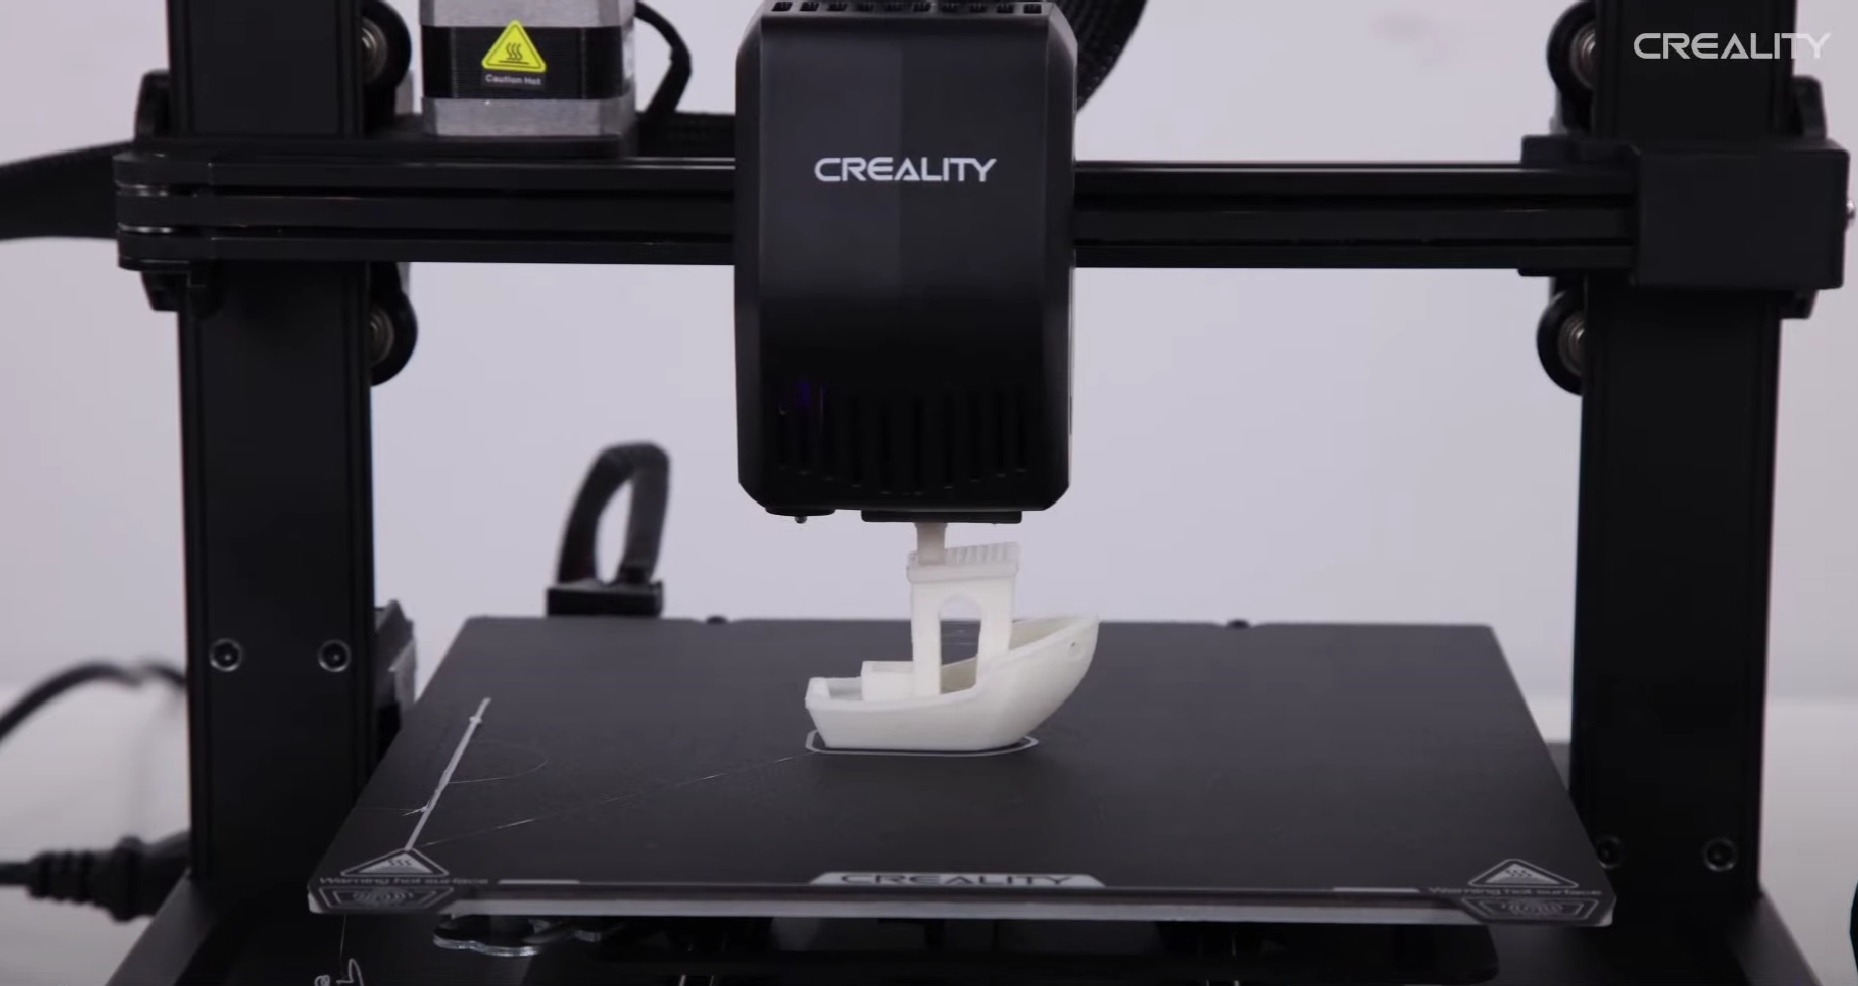
In this review, we will examine the V3 SE to determine if it lives up to expectations. The printer boasts several impressive features not previously seen in 3D printers under $200. The question is, does it truly deliver, or has Creality overreached?
Join us as we delve into the Creality Ender-3 V3 SE review.
Unboxing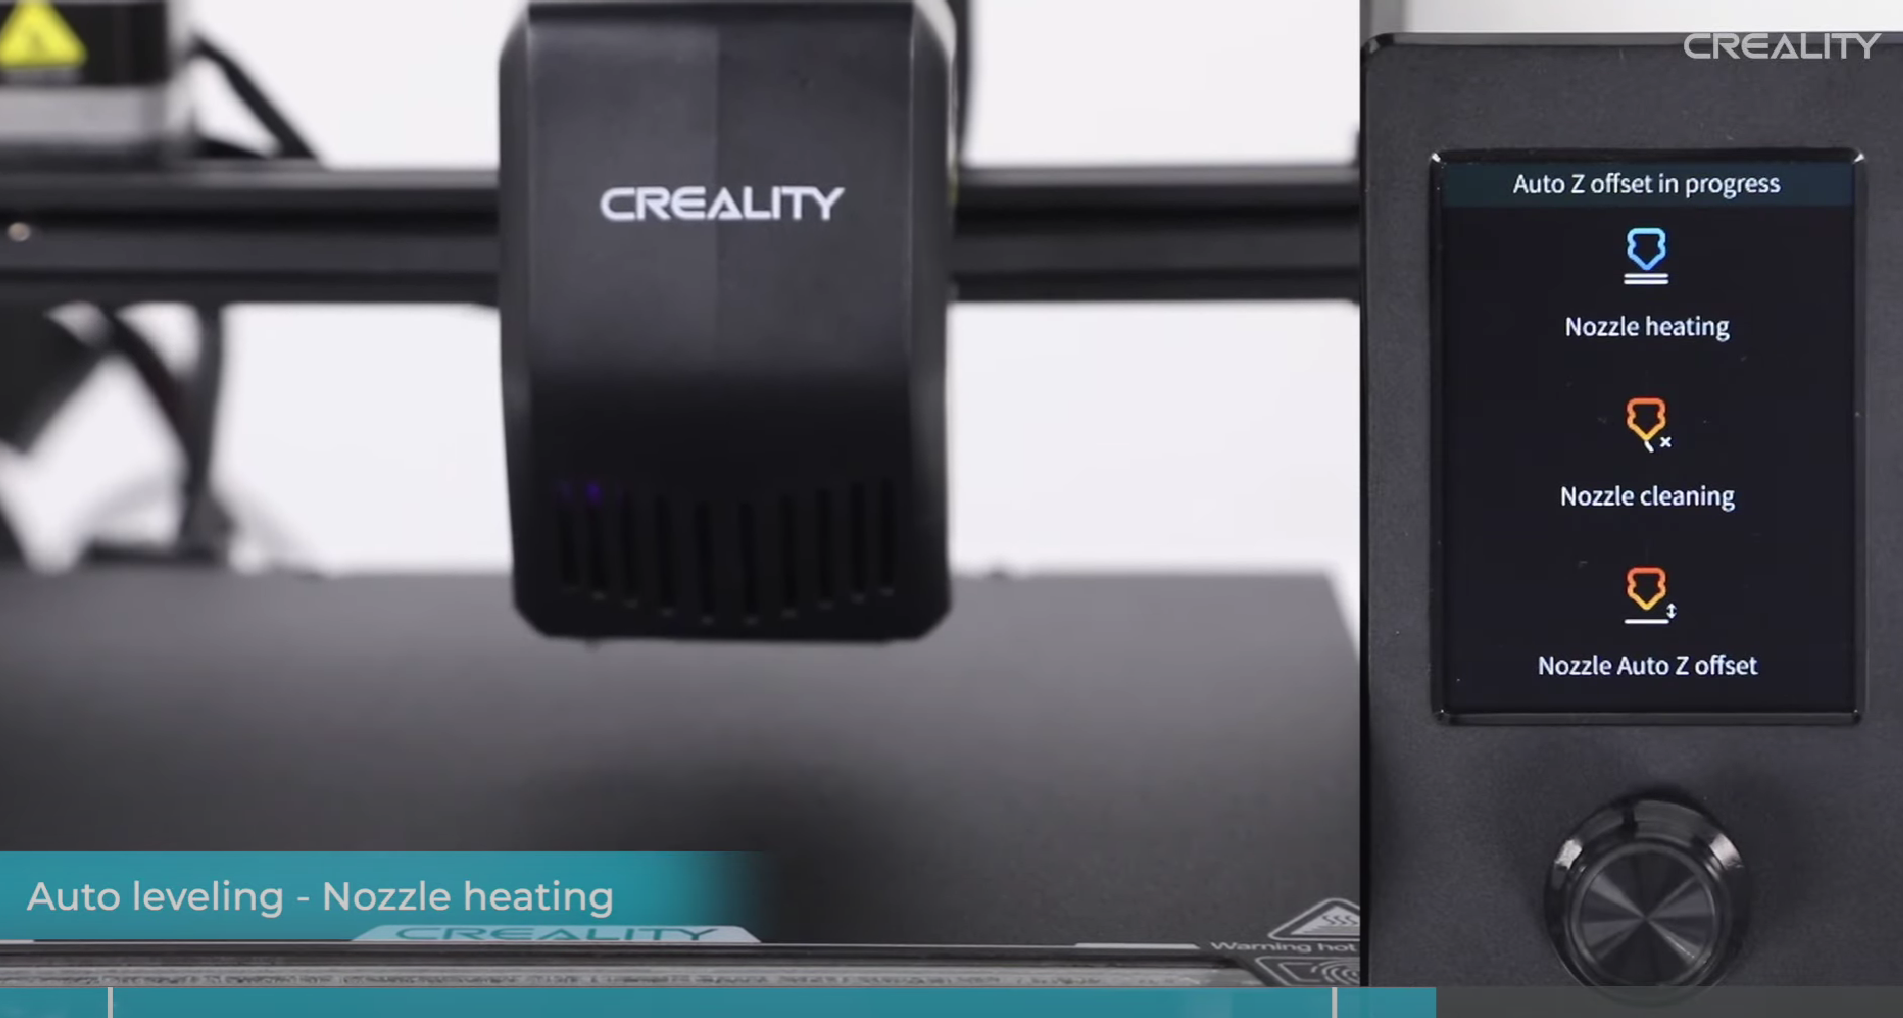
Upon opening, the Creality Ender-3 V3 SE sits nestled in foam inside its shipping box. The first thing we notice is the compact size of the box. Despite similar dimensions to its predecessors, the packaging has become more compact, a positive step towards reducing environmental shipping impacts.
Inside, the components and accessories are standard compared to similar 3D printers and the Ender-3 V2 Neo. The V3 SE arrives mostly preassembled, a departure from the first-generation Ender 3D printers, which required significant assembly.
The package includes everything needed to start 3D printing with the Creality Ender-3 V3 SE, though extra filament and a USB-C cable for computer connection are necessary additional purchases.
Getting Started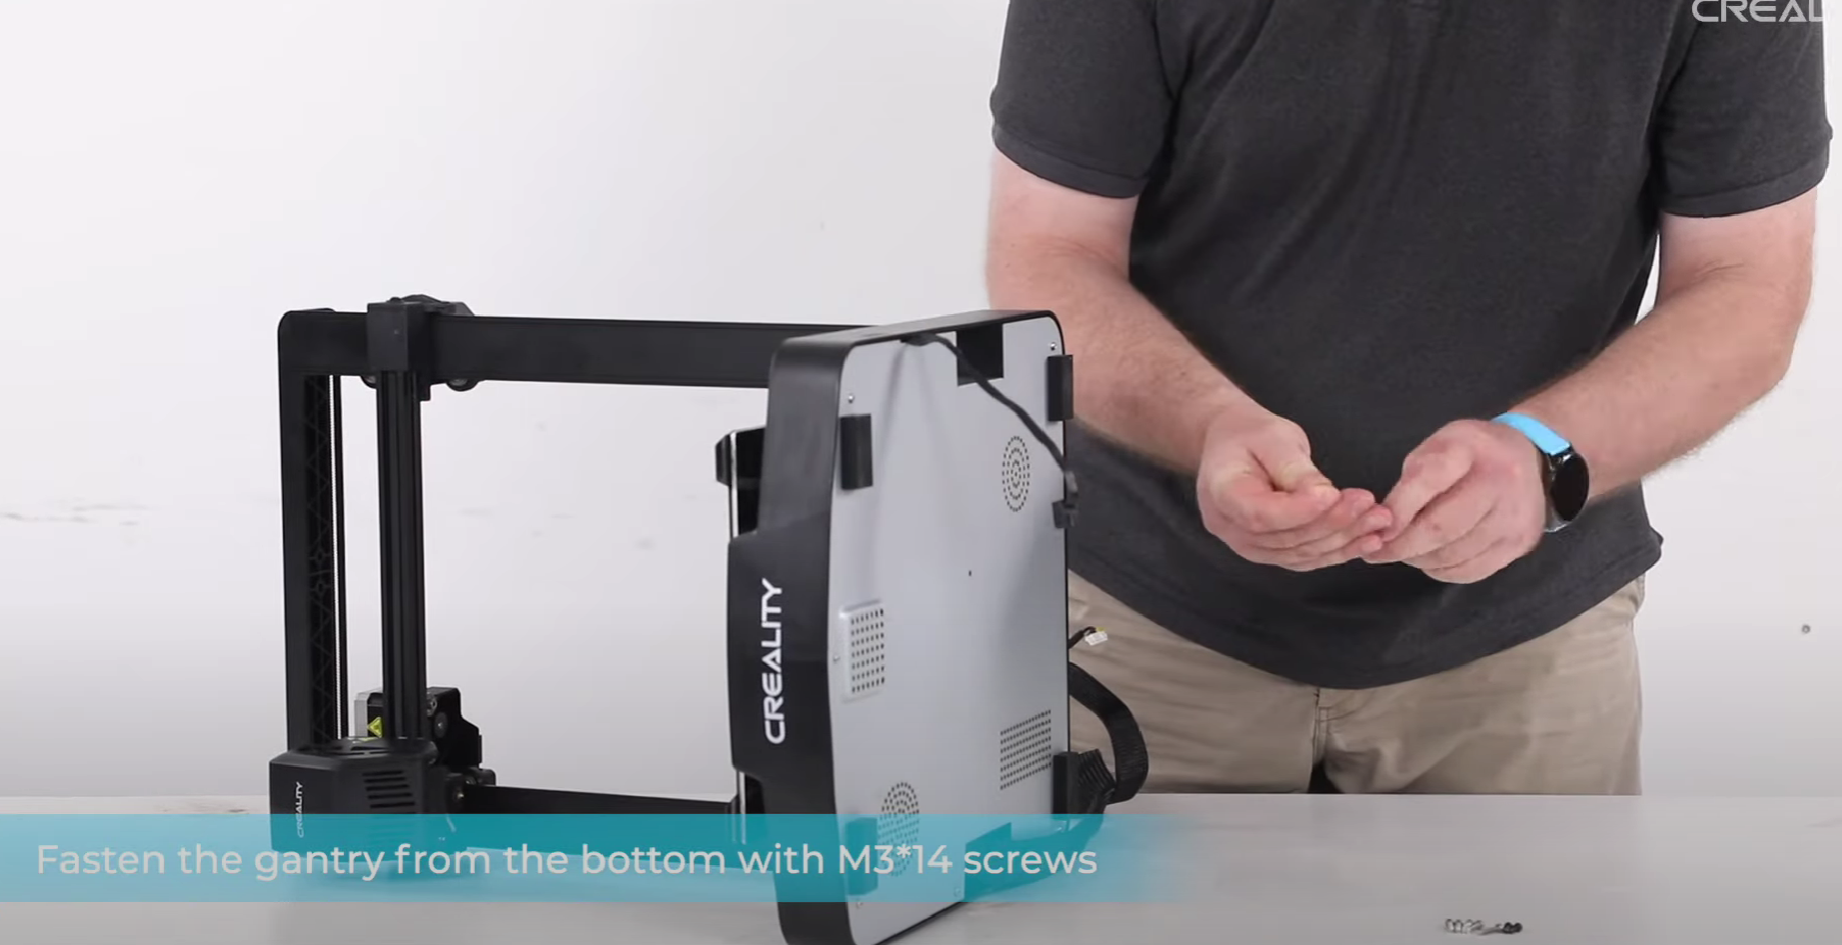
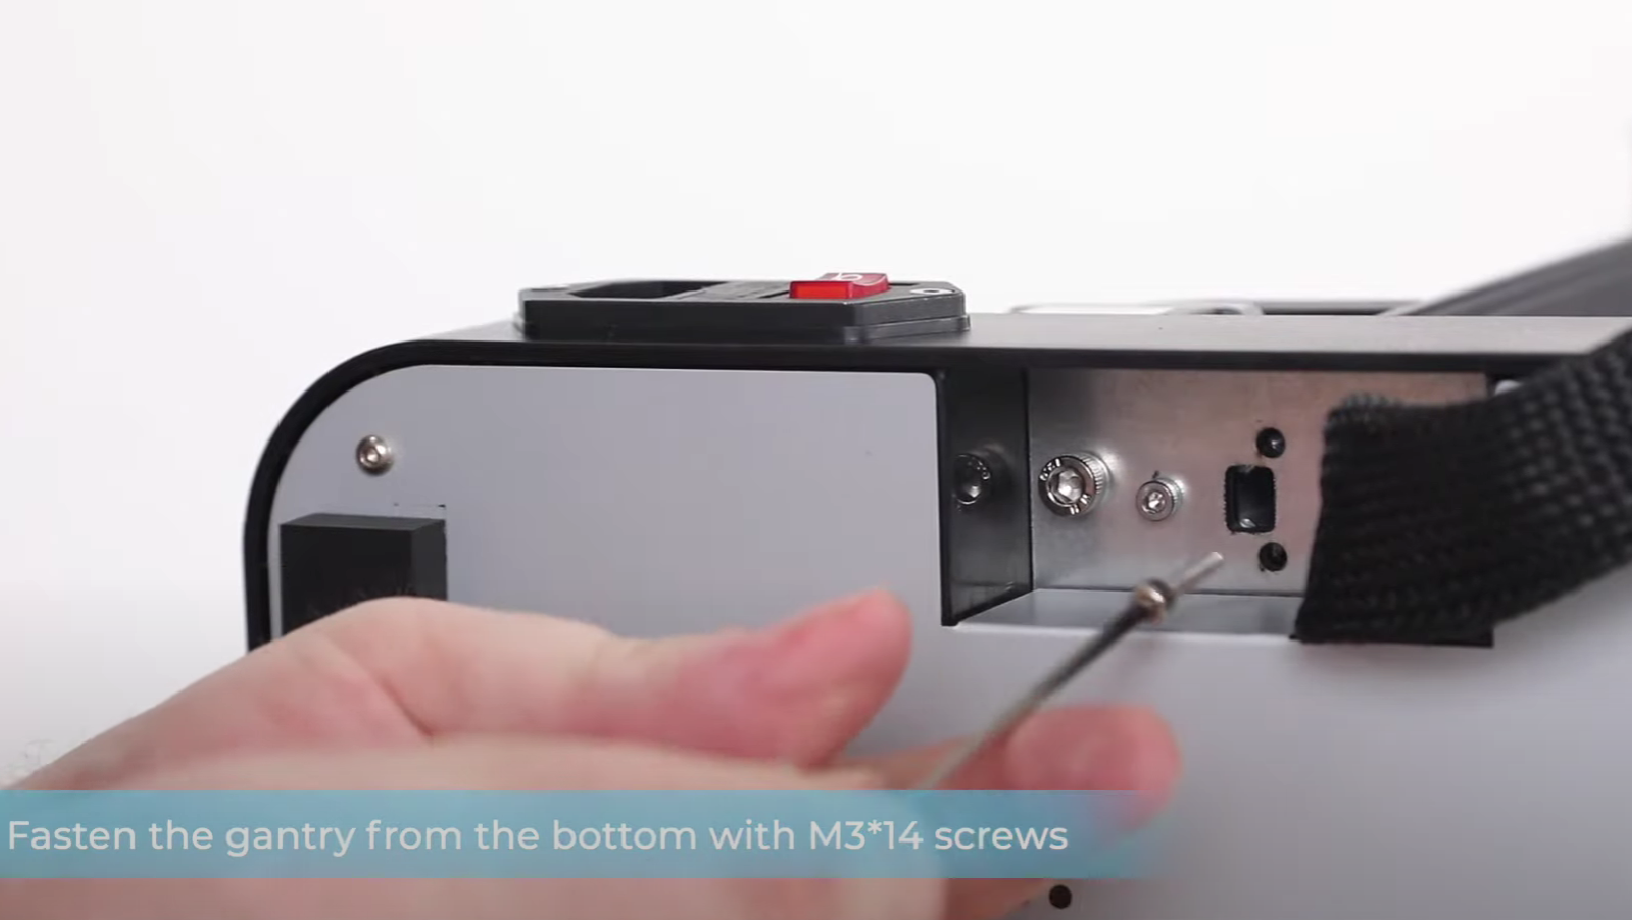
Assembly of the Creality Ender-3 V3 SE is now simpler. The print head comes pre-attached, and the base features fitted slots for the vertical Z-axis gantry, simplifying the mounting process.
We did find that the print bed was loose, likely due to shipping. Tightening the four mounting screws under the print surface with a Phillips-head screwdriver easily fixed this. It’s essential to check this, as a loose print bed can significantly impact print quality.
Overall, assembly is smooth, with minimal wiring and improved instructions compared to previous models. The linear rods on the Y-axis eliminate the need for adjusting V-wheels under the print bed, a notable improvement for beginners.
Creality Ender-3 V3 SE Features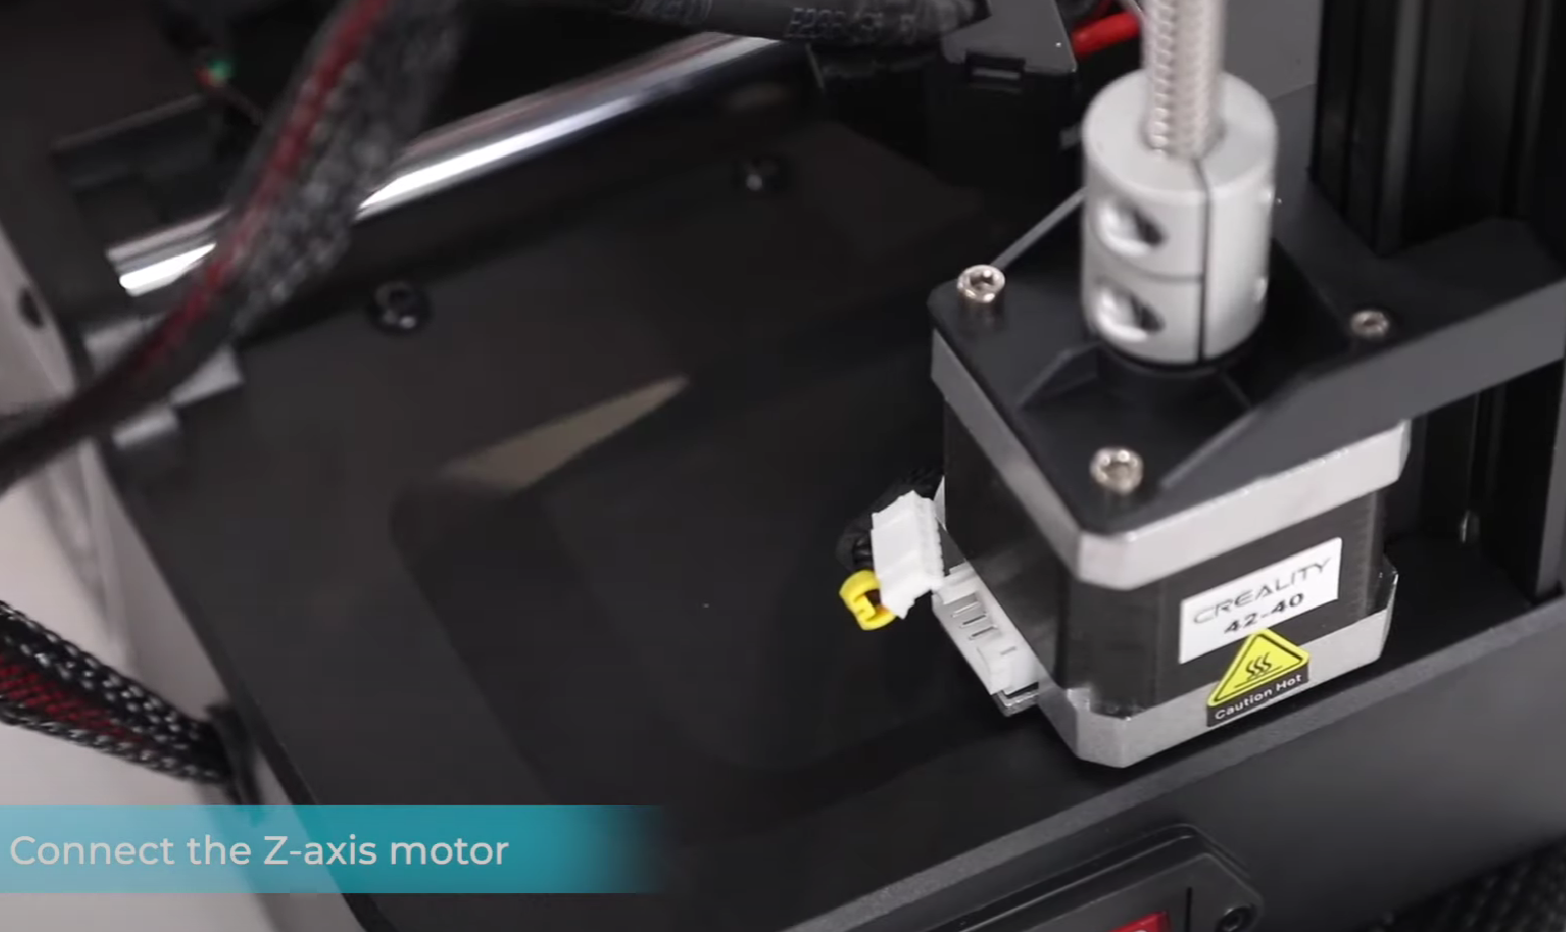
The Ender-3 V3 SE, a basic 3D printer designed for beginners, understandably lacks advanced features and high print speeds found in higher-end models like the Creality K1 series. However, its features perform well, and the printer fulfills its promises.
Sprite Direct Extruder
The V3 SE includes Creality’s Sprite extruder, a standard in recent Ender 3D printers. It may not support extreme print speeds, but it’s reliable and compatible with various filaments, ideal for a budget machine. This direct extruder reduces issues like stringing, a significant upgrade over the Bowden extruder in the Ender-3 V2.
The hot end of the Creality Ender-3 V3 SE is basic and durable, reaching nozzle temperatures up to 260°C. This temperature is sufficient for materials like PLA, PETG, and TPU, but not for higher-temperature filaments such as ABS or Nylon. The printer lacks a high-temperature all-metal hot end and other features necessary for these materials, like a heated build chamber or an enclosure. However, its popularity and ease of modification make future upgrades feasible.
In our tests, the hot end performed reliably, extruding filament smoothly throughout the printing process.
Print Cooling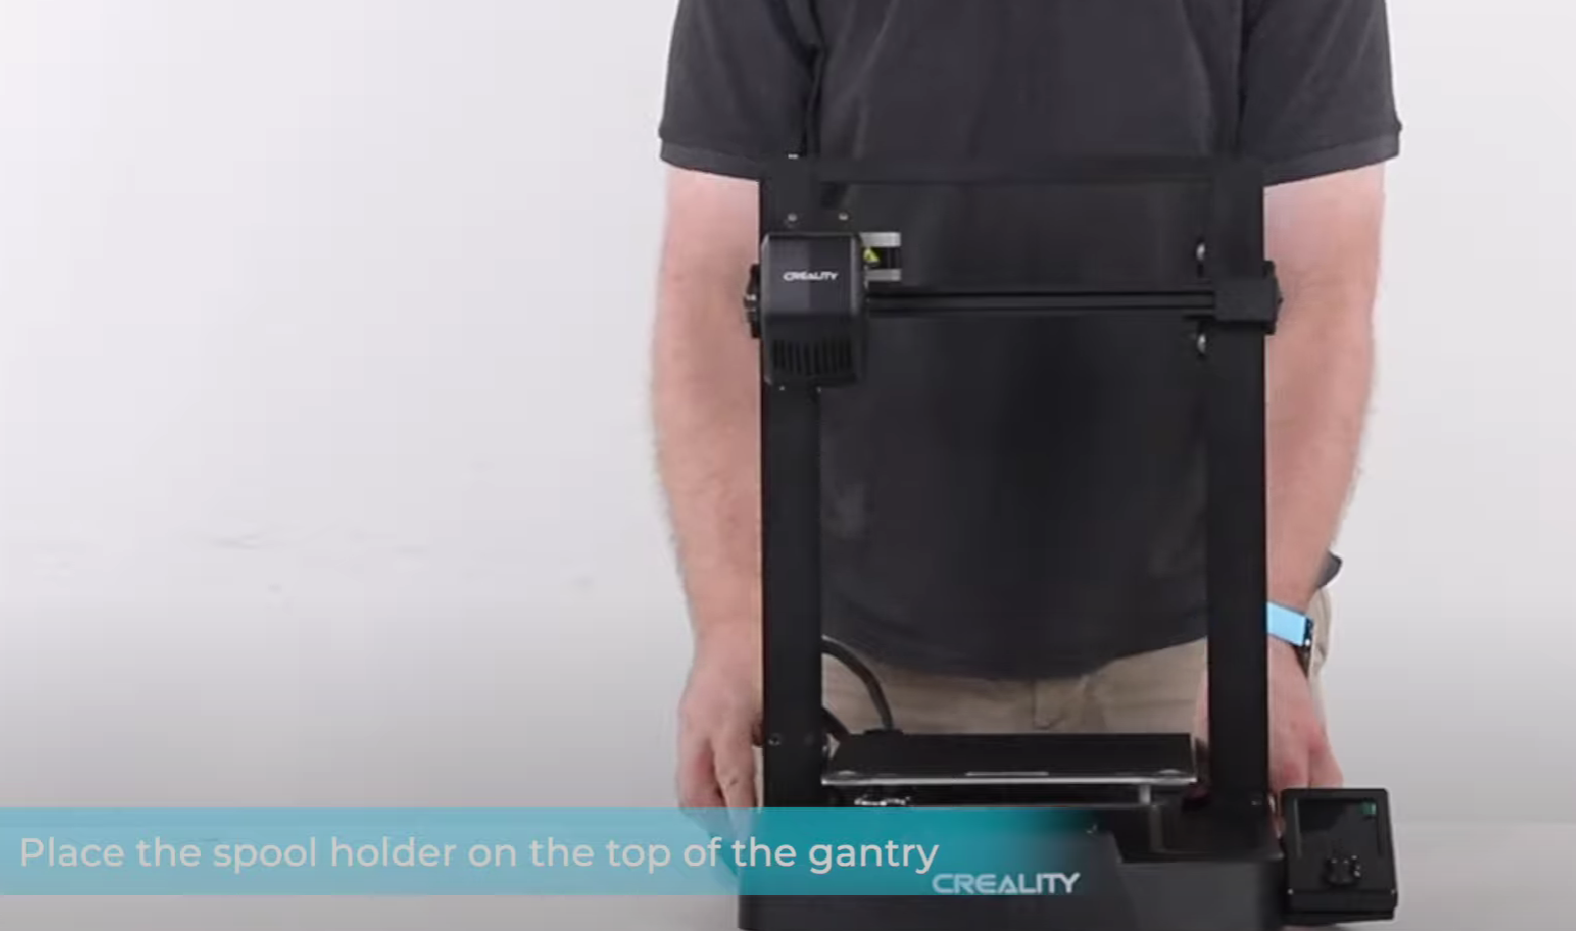
A 3D-printed fan shroud on a print head with a Sprite extruder is shown in a close-up. For print cooling, the Ender-3 V3 SE employs a single 40x40x10 mm radial fan, which is the standard for 3D printers under $300 and as minimal as possible. If you are looking to enhance print quality at higher speeds, upgrading this fan is one of the first considerations.
However, at normal speeds, we have found the small fan to be sufficient. The 3D print tests further down the page demonstrate that even steeper overhangs come out fairly well at standard printing speeds.
The V3 SE, sent to us by Creality, utilizes a 3D-printed shroud, but we anticipate the retail version to utilize an injection-molded version. As long as the design remains identical, this does not impact performance. The fan itself is of much greater importance. If you plan to upgrade at some point, a larger blower fan is the way to go.
Automated Nozzle Offset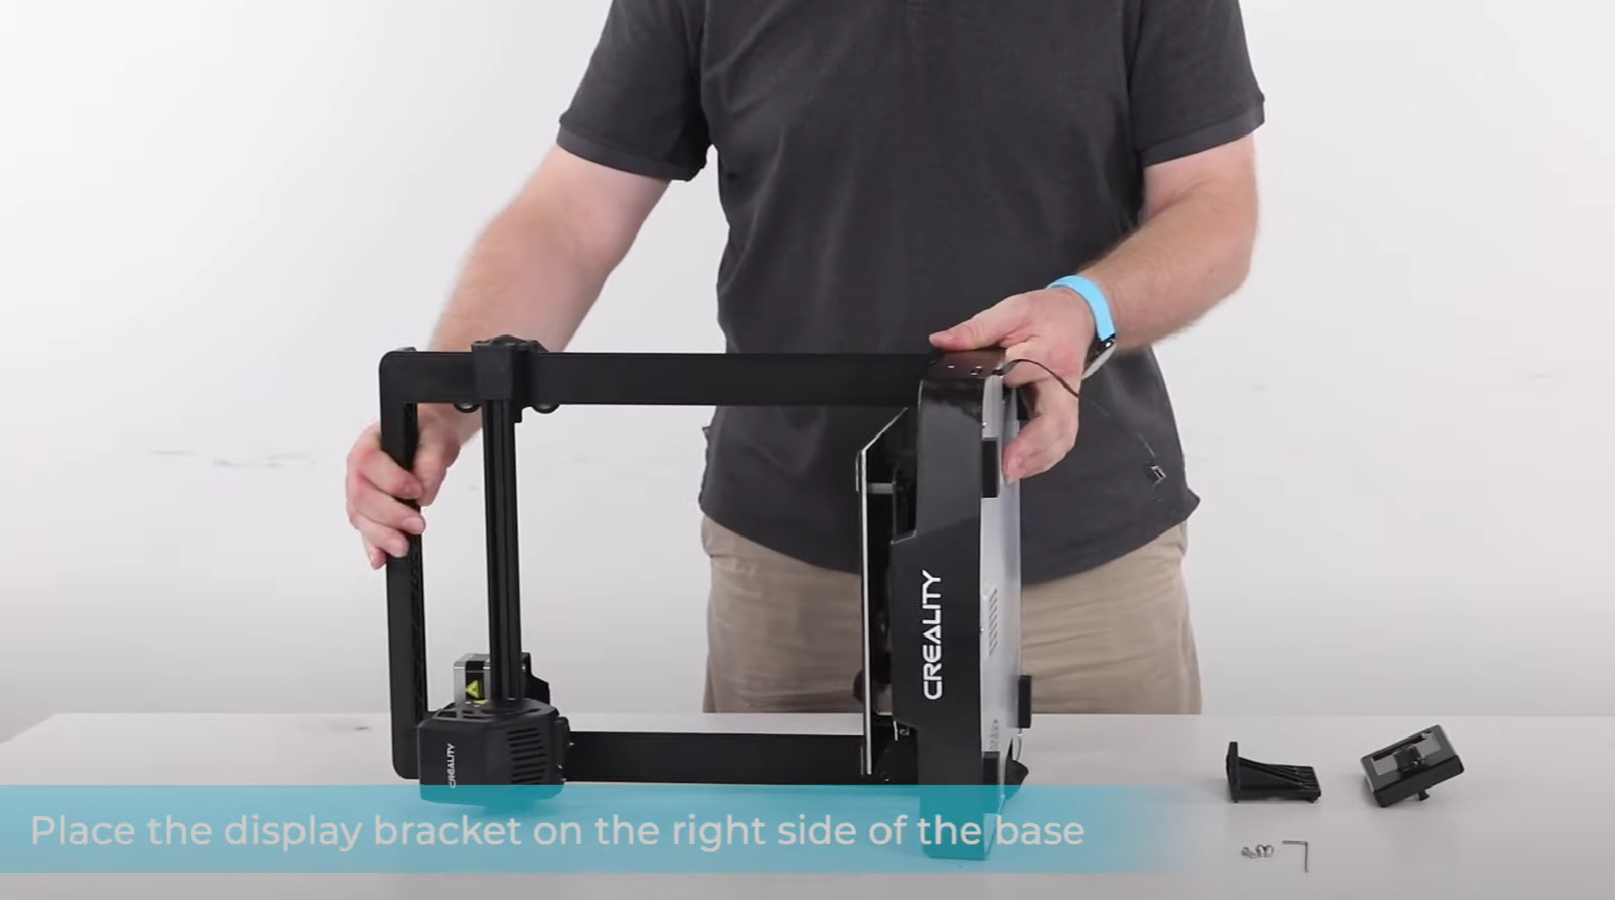
A strain sensor load cell is employed to automatically set the Z-offset on a 3D printer.
A notable feature in the Creality Ender-3 V3 SE 3D printer is its ability to automatically set the nozzle offset. The nozzle offset, or Z-offset, is a parameter that establishes the difference between the nozzle and the print surface. Achieving the right Z-offset is crucial for ensuring a smooth and well-adhering first layer.
The Ender-3 V3 SE accomplishes this through the use of a sensitive strain gauge under the print bed. This gauge informs the 3D printer when the nozzle comes into contact with the surface, setting the Z-offset to 0 at that height.
For those new to 3D printing, this automated process is extremely helpful. The manual process can be challenging for beginners, and even for more experienced users, it can feel like a chore.
The progress of the automatic Z offset setting is visualized on the Ender-3 V3 SE screen. In practice, the process takes minimal time and worked flawlessly during the testing of this Ender-3 V3 SE review. Every first layer emerged flawlessly, and there was no need for manual intervention.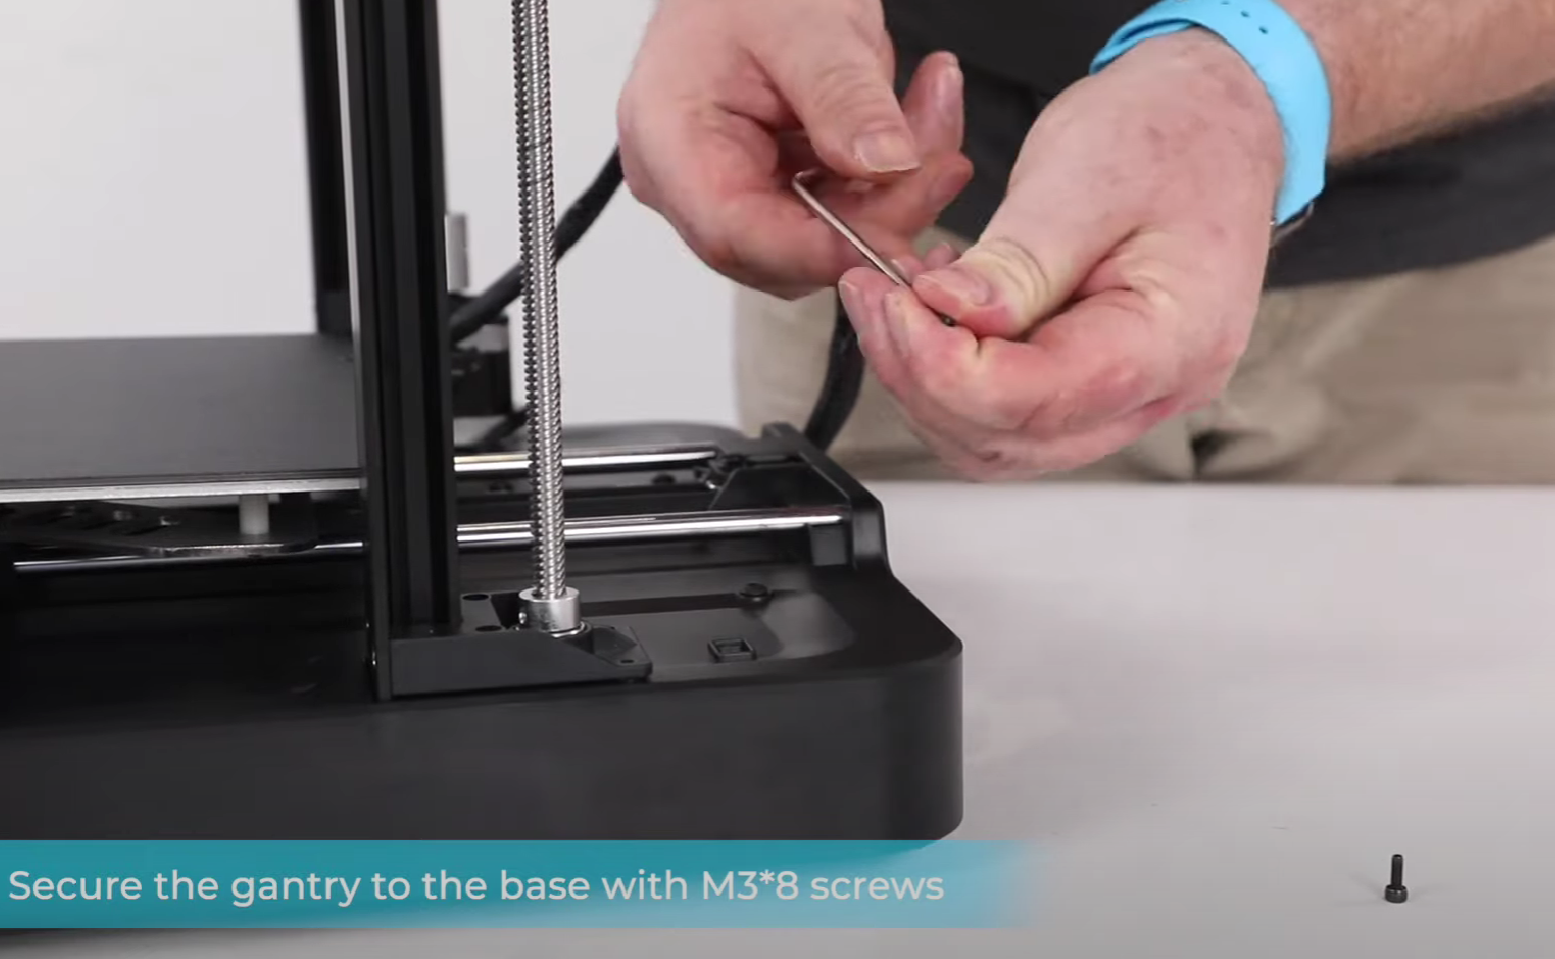
This system resembles what we encountered in the Creality K1, but it’s gratifying to see it included in the Ender-3 series as well. It is a significant time-saver for users of all levels.
In contrast, the K1 has all four corners of the print bed hard-mounted on strain gauges. On the other hand, the V3 SE has only a single strain gauge on one of the corners.
The main practical difference is that the K1 can utilize the four strain gauges for automatic bed leveling purposes, whereas the Ender-3 V3 SE still requires a separate bed leveling probe for that.
Automatic Bed Leveling
The 3D printer print head features a CR-Touch automatic bed leveling probe.
Examining the Ender-3 V3 SE’s automatic bed leveling probe brings us back to covering features that have consistently proven themselves. Creality exclusively utilizes its own CR-Touch as the ABL probe for good reasons—it is accurate, reliable, and, in comparison to the BLTouch, carries a lower risk of damaging the tip. It’s a crucial feature you shouldn’t overlook.
The CR-Touch probe enables the 3D printer to create a virtual mesh of the bed, compensating for inaccuracies in the flatness of the build surface. Consequently, you achieve an even, well-adhering layer of filament at the start of your 3D prints.
Sticky Print Bed
The Creality Ender-3 V3 SE features a 220×220 mm print bed, continuing the trend. This size accommodates most popular 3D printing projects and designs. For larger items, one can always split the 3D model before turning to a large-scale 3D printer.
The V3 SE utilizes a one-sided PC-coated stainless steel sheet for the print surface. We observed that it adheres surprisingly well (in a positive manner) compared to previous versions of Creality’s PC-coated surfaces. The company is actively working on improving these coatings for better filament adherence.
In our tests, the surface adhered well to the filaments we experimented with—PLA and PETG. The combination of the print surface with the ABL probe and automatic Z offset creates an ideal pairing. Do not anticipate the bed to perform well with strongly warping materials like ABS unless a 3D printer enclosure is used.
The print bed takes approximately 2:25 minutes to heat up to 60°C and 7:25 minutes to go from room temperature to 100°C. This speed is relatively slow for a print bed of this size.
The durability of the print surface has not been tested. However, as with every 3D printer, it can be expected to wear out eventually. Replacement is not expensive when the time comes.
Thermal Performance
The Ender-3 V3 SE print bed, heated to 60 degrees Celsius, displays an impressive thermal image.
The Ender-3 V3 SE’s print bed maintains excellent temperature distribution. The temperatures at the corners remain consistently close to the center temperature, a surprising finding given the lack of insulation at the bed’s corners.
This design minimizes warping due to temperature variations on the print surface, an impressive feat for an affordable 3D printer.
Thermal image of the Ender-3 V3 SE print bed heated to 100 degrees Celsius.
Other Features
Beyond the aforementioned features, the Creality Ender-3 V3 SE 3D printer offers no extra frills, such as a filament sensor, tool drawer, or print headlight.
We see no issue with this, as users can easily find upgrades or improvements for these features later if needed.
At a $200 price point, we prefer a solid 3D printer that excels in the basics over a machine overloaded with features. Creality achieves this balance well with the Ender-3 V3 SE.
Build Quality and Construction
Creality’s Ender-3 series generally shares a similar construction, but the V3 SE introduces several changes aimed at enhancing print quality and maintaining affordability. Let’s examine the most notable ones.
Y-Axis Linear Rods
The Ender-3 V3 SE introduces Y-axis linear rods, a departure from the V-wheels used in past models like the V2 Neo and Max Neo.
V-wheels, while common, tend to wear and loosen over time, requiring periodic adjustments and eventual replacement. In contrast, the linear rods and bearings in the V3 SE provide a more stable platform for the print bed, leading to more accurate prints and less maintenance.
We view this as a significant upgrade over previous models in the Ender-3 series and hope to see it in future models.
However, compared to V-wheels, the linear bearings produce slightly more noise when moving over the rods, though it’s not overly loud or bothersome.
Dual Z-axis
The Ender-3 V3 SE also features a new dual Z-axis configuration, using two lead screws for added stability. This design prevents sagging on one side of the X-axis and associated print quality issues.
Previously a popular upgrade for the Ender 3 V2, this dual lead screw setup now comes standard, saving time and money. The V3 SE’s two lead screws, driven by a single stepper motor and synchronized with a timing belt, perform as well as dual-stepper setups but at a lower cost.
Component Quality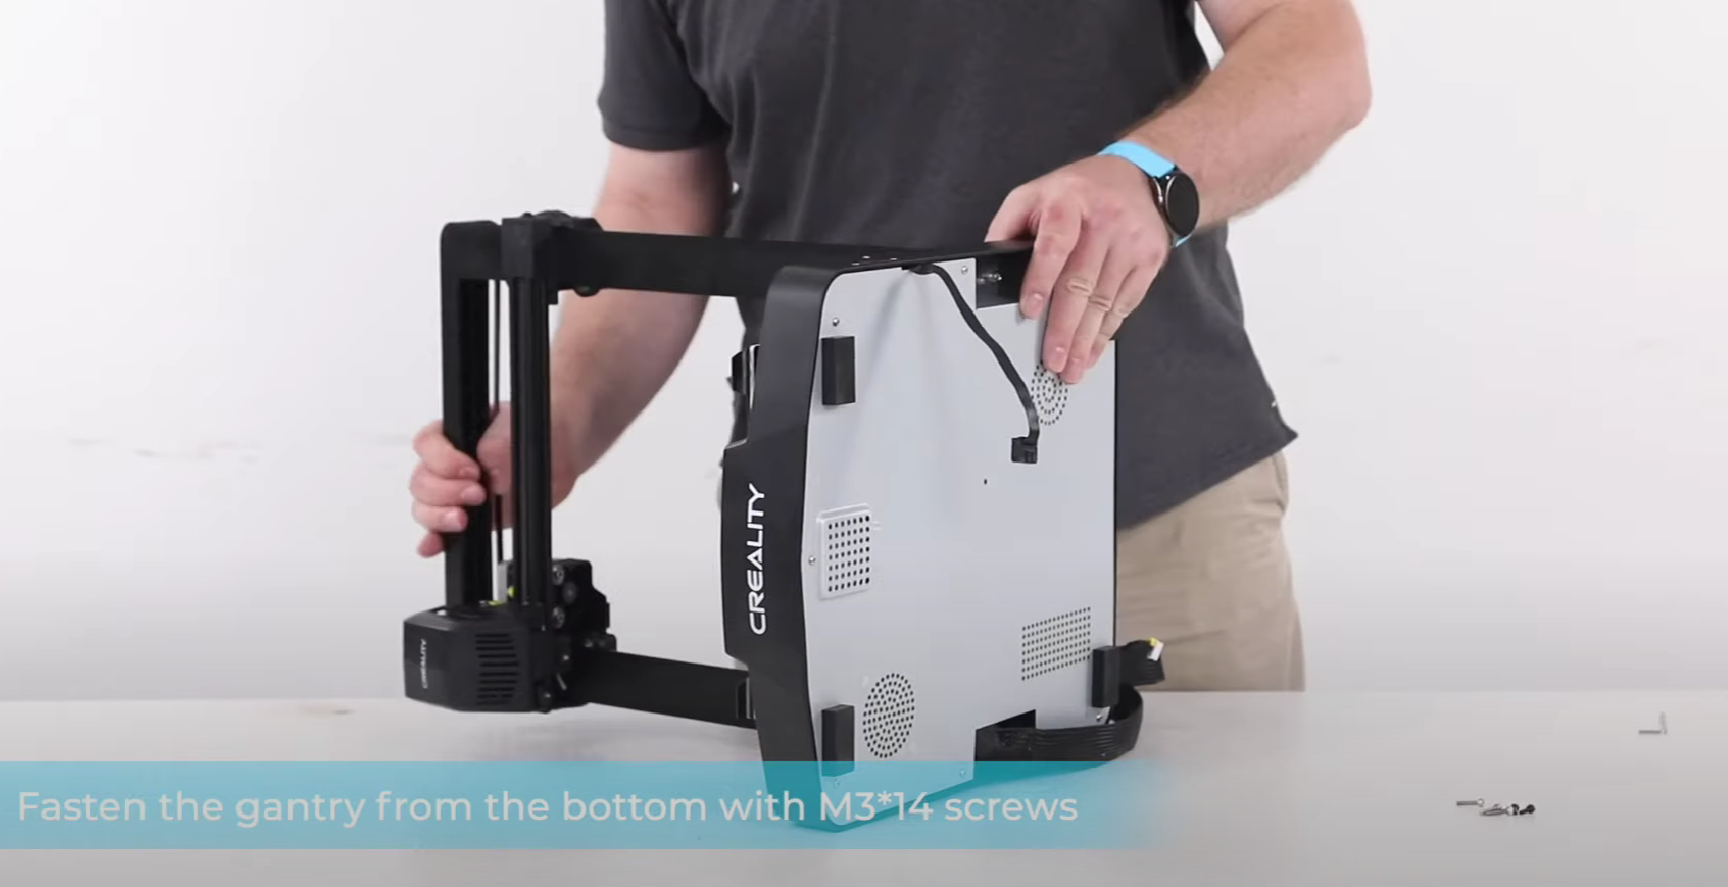
One drawback of the Creality Ender-3 V3 SE is its construction. The printer’s base is entirely plastic, and several other critical components are non-metallic. While this reduces costs, it compromises rigidity, affecting print speeds, accelerations, and accuracy.
However, for a budget 3D printer like the Ender-3 V3 SE, the predominance of plastic in the construction isn’t a significant concern. If the cost savings allow for advanced features like automatic bed leveling, a strain sensor, and a dual Z-axis, it represents a worthwhile compromise.
Print Area
The Ender-3 V3 SE 3D printer boasts a build volume of 220x220x250 mm.
With its 220x220x250 mm build volume, the Ender-3 V3 SE stands out as an average 3D printer priced under $200. It neither falls into the category of being too small nor too large, providing ample space for all fundamental 3D printing requirements.
Electronics
The electronics of the Creality Ender-3 V3 SE 3D printer align with typical standards. While not extraordinary, they meet the requirements for a 3D printer of this caliber.
The Ender-3 V3 SE utilizes an ARM GD32F303 as its main processor, allowing compatibility with firmware like Klipper, for use with devices such as Sonic Pad or a Raspberry Pi.
The 3D printer is equipped with the CR4NS200320C13 motherboard for its controller. Safety-wise, the V3 SE excels, featuring crimped high-current connectors and sufficient grounding for essential components.
The power supply of the 3D printer is a Creality-branded 350W 24V PSU, which adequately fulfills its purpose without known quality issues, unlike some generic Chinese PSU brands.
Cable management on the 3D printer is straightforward, with neatly managed wire bundles using clips and strain relief. There is minimal risk of wires snagging on moving components.
Ease of Use
The Ender-3 V3 SE stands out as a highly user-friendly 3D printer, thanks to the automatic Z offset capability and ABL probe. Other factors also contribute to its ease of use.
Repairability/Upgradeability
Accessing the electronics for repairs or upgrades on the Ender-3 V3 SE is convenient. After removing the bolts on the machine’s underside plate, the electronics are neatly arranged for easy access.
While working on the extruder or hot end can be more challenging due to the intricacies of the Sprite direct extruder, its reliability minimizes the need for frequent disassembly.
Connectivity
Connectivity to the Creality Ender-3 V3 SE is limited to USB, lacking Bluetooth, Wi-Fi, or other wireless options—standard for its price range. Additional connectivity options, such as a Wi-Fi box or Sonic Pad, can be used for remote control.
On a positive note, the V3 SE features a USB-C port and a full-size SD card slot. The USB-C port allows for easy insertion of the USB cable in any orientation, and the full-size SD card is more user-friendly than a micro-SD card. A USB-C cable is not included, so it’s advisable to have one on hand.
LED Screen
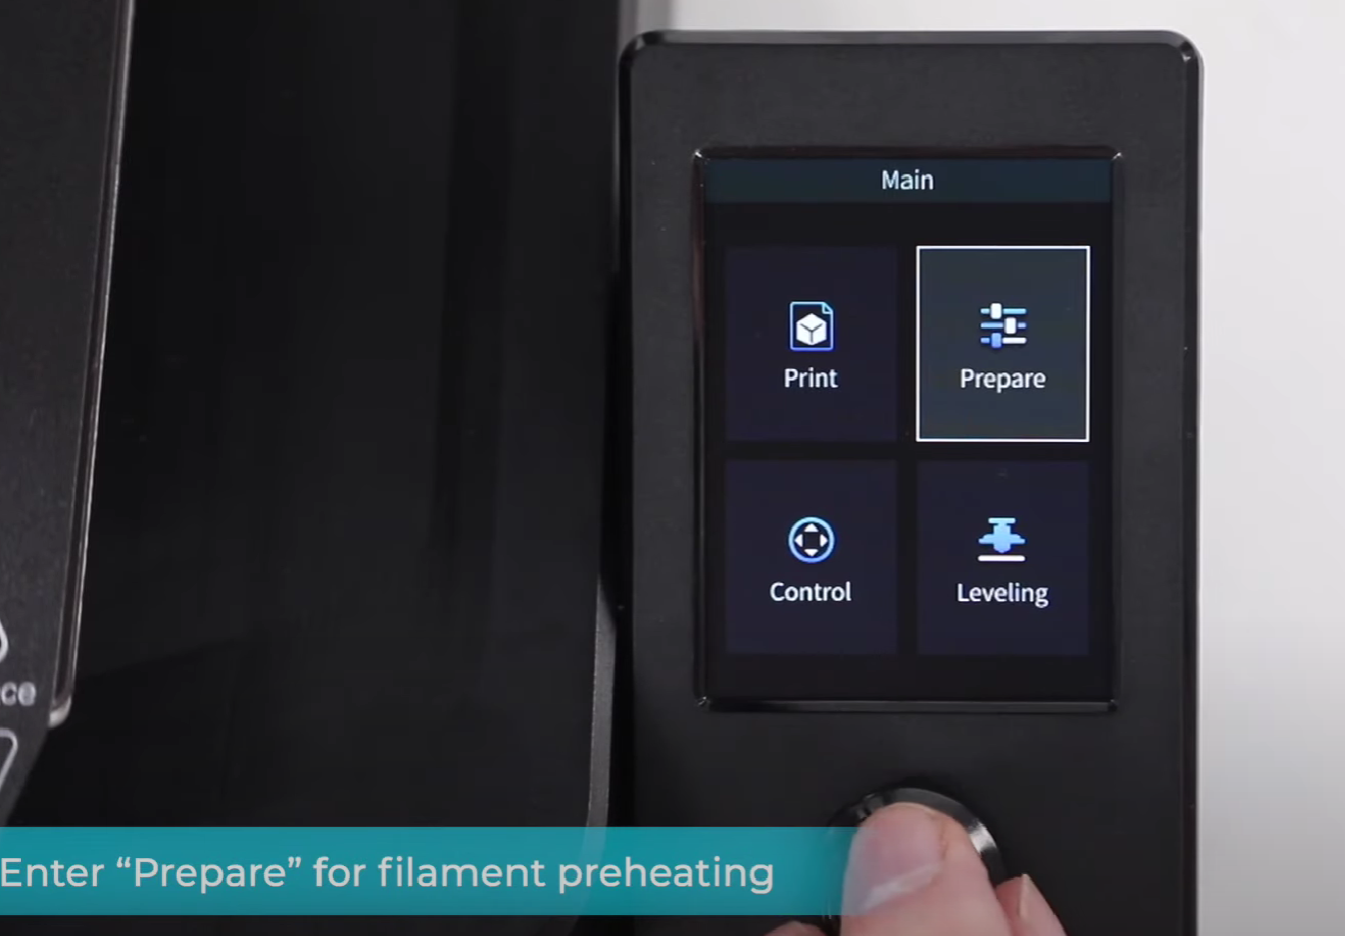
The Creality Ender-3 V3 SE 3D printer features an LCD screen interface with a knob. The LCD display, measuring just over 3 inches, lacks a capacitive touch overlay, making interaction solely dependent on the rotary knob. While the rotary knob functions effectively, it requires more time and adaptation compared to a touchscreen. The screen’s size and absence of touch functionality are limitations that may not be realistically improved within the sub-$200 price range. Nevertheless, these factors do not render it a deal-breaker.
Marble Horse
We printed a cat model from one of the G-Code files on the included SD card. Despite numerous grooves on the surface, the print turned out well. These grooves, upon closer inspection, revealed themselves as the model’s fur texture, not ringing artifacts or extrusion issues.
For more rigorous testing, we examined how the Creality Ender-3 V3 SE handles 3D models requiring frequent retractions. We chose a knotted vase for this test. The vase’s 3D print emerged very clean, free of stringing, gaps, or a noticeable Z-seam. We achieved great results using the Sprite extruder’s default retraction with PLA (1 mm).
The 3D-printed owl from the Ender-3 V3 SE also impressed us, although some feathery textures lacked a fine finish. We attribute this to our choice of printing fast with wood filament through the standard 0.4 mm nozzle. For wood filament 3D printing, switching to a 0.6 mm or larger nozzle usually yields better results.
We also noticed a white finish on the underside of the 3D print. We have previously seen this with this particular filament and PC-coated print beds. The exact cause remains unclear to us, but it’s not a major issue.
Another creation was a horse statue, 3D printed with tree supports for support material. The supports proved easy to remove, and the outcome was astounding, especially for a 3D printer under $200.
The Ender-3 V3 SE achieved this on the first attempt with a basic Cura profile, eliminating any need for trial and error.
Conclusion
The Creality Ender-3 V3 SE 3D printer stands out as a robust choice for beginners and as an affordable addition for experienced users. Its automatic bed leveling probe and strain sensor significantly simplify 3D printing, especially for those on a budget, eliminating the need for manual bed leveling or Z-offset adjustments.
The Y-axis linear rods and dual lead screws are notable upgrades, enhancing the print quality and reducing the urge to upgrade the printer soon after purchase. This marks a change from the previous Ender-3 V2 series.
Priced at $199, the printer offers exceptional value. We expected such features in the $250-300 range, so finding them under $200 is impressive.
The Ender-3 V3 SE makes few compromises for its price. Its small non-touch screen, plastic base, and relatively slow heating are minor drawbacks. The printer’s ease of use and quality output make these issues tolerable.
In summary, the Creality Ender-3 V3 SE is the top choice for a 3D printer around a couple of hundred dollars. Currently, no other machine matches its print quality and ease of use at this price point.
Read Also: Creality Ender 3 V3 SE Review: Budget Printer, Big Print Possibilities?


